


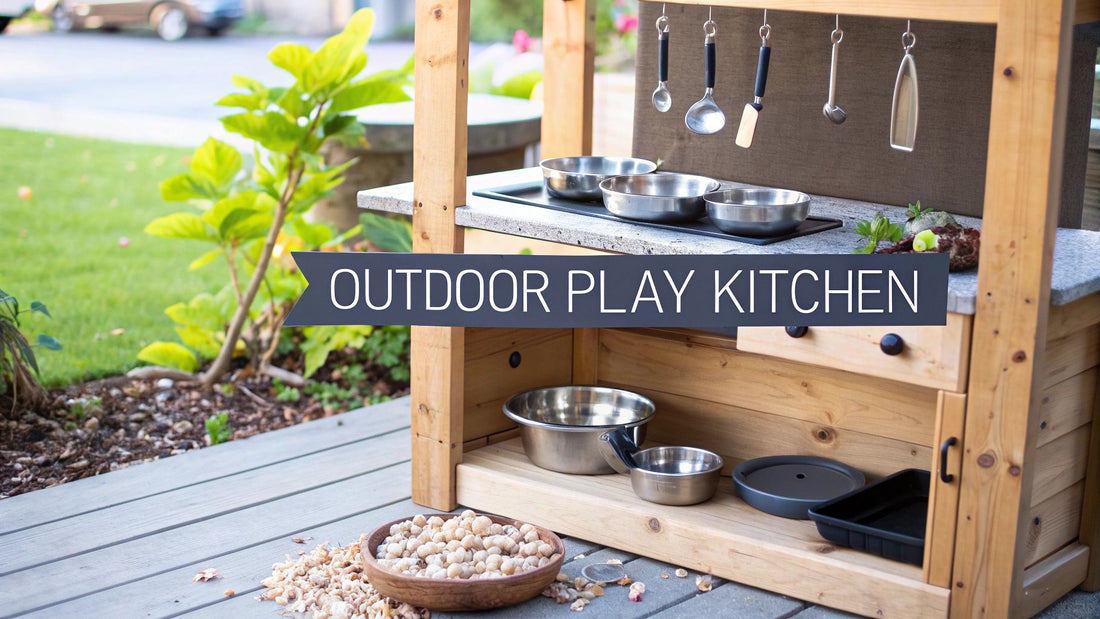
Build a Better Backyard Outdoor Kids Kitchen
An outdoor kids kitchen is so much more than a toy. It’s a special spot carved out in your backyard, dedicated entirely to creativity, sensory exploration, and good old-fashioned nature play.
Often called mud kitchens, these setups are really a launchpad for a child's imagination. It’s where they can mix up "potions" with leaves and flowers or create delicious "pies" from dirt and water. Think of it as an investment in hands-on learning that truly helps them grow.
The Power of Play in Your Own Backyard
An outdoor kids kitchen can turn a quiet corner of your yard into a buzzing hub of learning and discovery. Unlike indoor toys that often have a single, specific purpose, a play kitchen like this encourages free, unstructured play where the only limit is their imagination. Suddenly, a handful of acorns becomes a gourmet ingredient and a puddle of rainwater is the secret base for a magical soup.
This kind of hands-on engagement is absolutely fundamental for childhood development. When kids are scooping, pouring, mixing, and mashing, they aren't just making a mess—they're building crucial fine motor skills and hand-eye coordination. Every "recipe" they dream up is a mini-exercise in problem-solving and critical thinking.
Fostering a Connection with Nature
An outdoor kitchen acts as a natural bridge between your child and the world around them. It gets them to look closer at their environment, gathering materials like twigs, pebbles, flowers, and leaves. This interaction helps grow an early appreciation for nature while giving them a rich sensory experience that screens and plastic toys just can't match.
The benefits go far beyond just play, too. This kind of environment supports early scientific learning in a very real, tangible way.
- Observing Changes: Kids get to see firsthand how water changes the consistency of dirt, or notice how leaves float while rocks sink.
- Measuring and Estimating: Using old measuring cups and spoons teaches them foundational math concepts without any pressure.
- Cause and Effect: They learn that mixing certain "ingredients" creates new textures and colors, which sparks their natural curiosity.
An outdoor play space gives children a sense of ownership and independence. It's their own domain to create, experiment, and even get a little messy—all of which is essential for building confidence and healthy development.
The Growing Importance of Developmental Play
The value parents place on toys that support cognitive and social skills is definitely on the rise. While an outdoor kitchen is unique, its benefits tap into a much bigger trend in developmental toys.
For instance, the global market for indoor toy kitchens and play food is projected to hit $4.66 billion by 2035. This growth is driven by parents looking for toys that encourage role-playing and motor skills. It just goes to show a shared understanding that these kinds of imaginative play spaces are vital for a child's growth. You can discover more insights about this growing toy market trend.
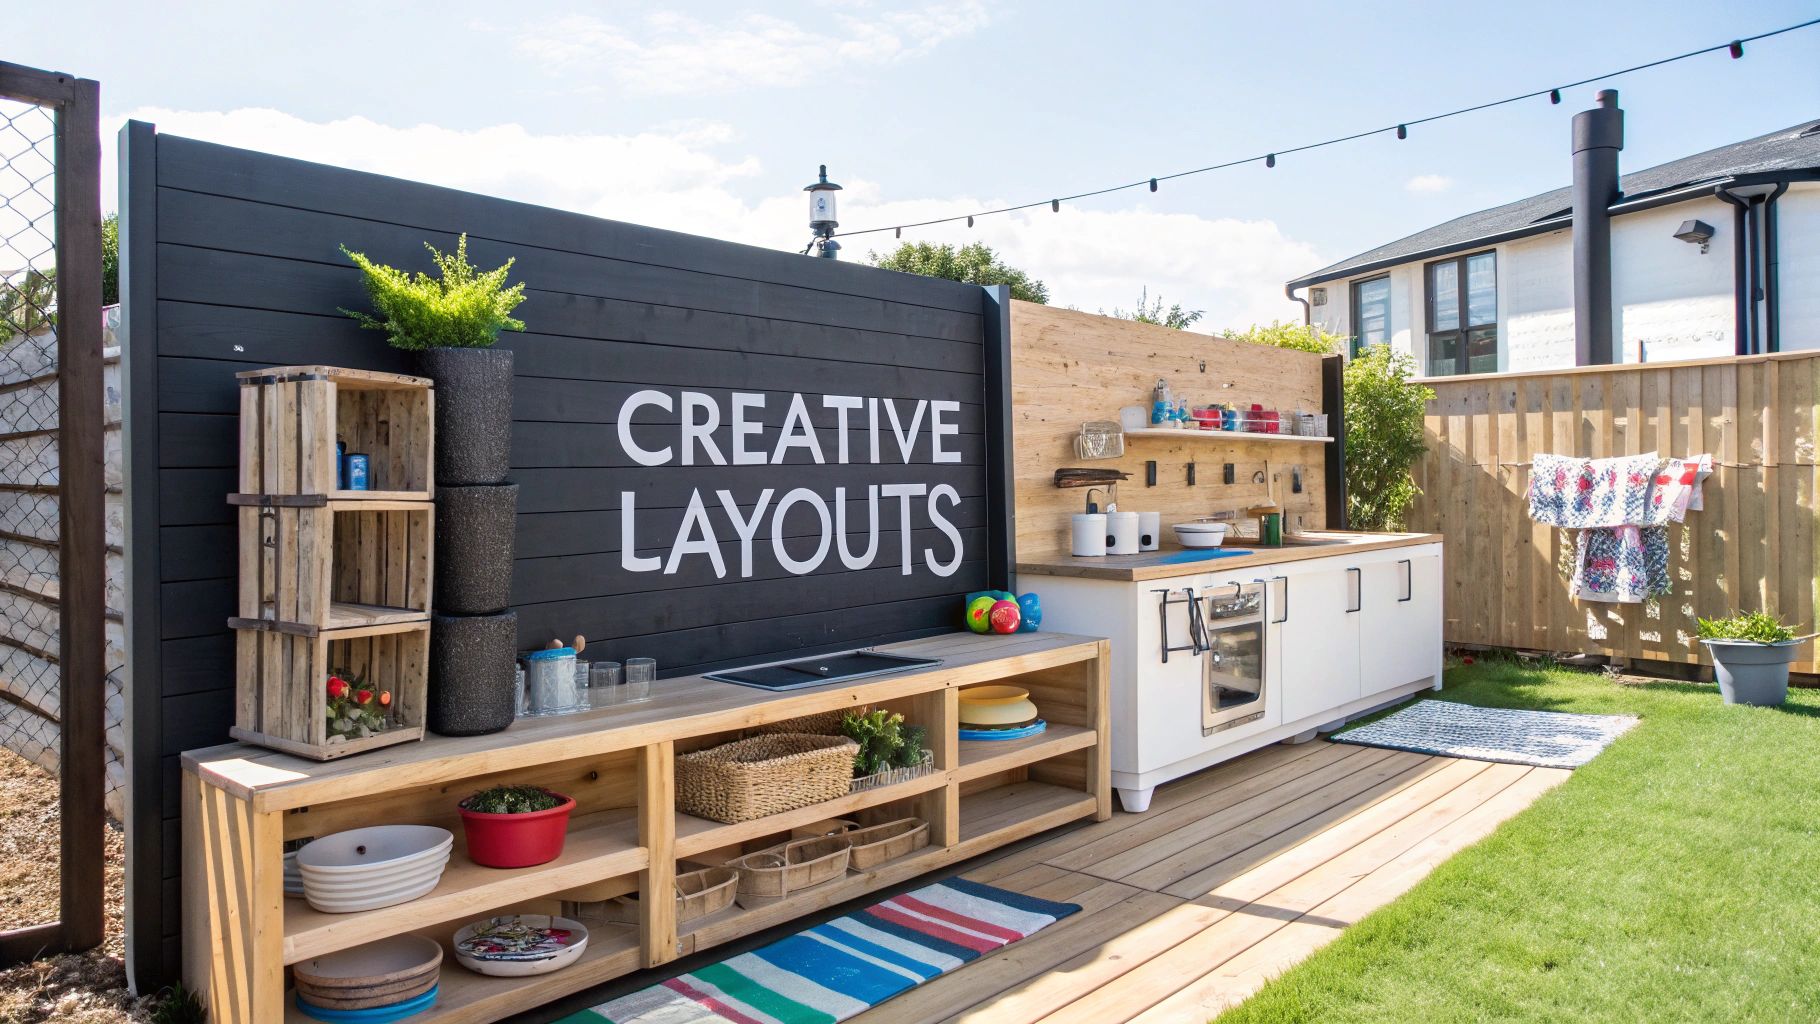
Designing Your Perfect Outdoor Play Kitchen
A little bit of planning upfront goes a long, long way. Trust me. Taking the time now to think through your outdoor kids kitchen will make sure it's a huge hit for years, not just a weekend project that gets ignored. The very first thing to nail down is the location—this one decision can truly make or break how much playtime it actually sees.
I always tell parents to think about the "three S's" of placement: Shade, Supervision, and a Source of water. A spot under a big leafy tree or tucked beside the house offers a nice break from the hot sun, which means more playtime on those long summer days. You'll also want a clear line of sight from a kitchen window or your patio so you can easily keep an eye on things.
And finally, think about how close it is to a hose or an outdoor spigot. It’s not a deal-breaker, but having easy water access is the secret ingredient for next-level messy fun. This is what turns a simple play spot into a real mud-pie-making factory.
Choosing Your Kitchen's Style and Scale
Once you've got the perfect spot scouted, it's time for the fun part: the design. There's no single "right" way to do this. The best kitchen is the one that fits your budget, your free time, and how comfortable you are with a little DIY.
For instance, if you've only got a small patio, you could upcycle an old, solid nightstand. With a quick sanding, a coat of weatherproof paint, and a simple cutout for a removable plastic bin "sink," you can create a super charming station in just one afternoon. It's a fantastic, low-cost way to get started.
On the other hand, if you have more space to play with and you're not afraid of a few power tools, you could map out a more elaborate L-shaped kitchen using reclaimed pallets or some nice cedar planks. This approach lets you build in separate "prep" and "cooking" areas, maybe a couple of sinks, and plenty of shelving for all those rocks, leaves, and other foraged ingredients.
A key thing to remember is that the goal is a functional play space, not a perfect miniature kitchen. Focus on durability and features that spark imagination—like open shelves and a big, sturdy countertop—instead of getting bogged down in tiny, intricate details.
Comparing Common Kitchen Approaches
Trying to decide which route to take can feel like a lot, but looking at it from the angle of cost and effort really helps clarify things. Each approach has its own vibe, from rustic and charming to polished and ready-to-go.
To help you figure out what's best for your family, here’s a quick comparison of the three main ways people build these kitchens.
Outdoor Kitchen Style Comparison
| Kitchen Style | Average Cost | Effort Level | Key Benefit |
|---|---|---|---|
| Upcycled Furniture | $20 - $75 | Low | Fast, affordable, and full of character. Perfect for beginners. |
| DIY Pallet Build | $50 - $150 | Medium | Highly customizable and rustic. Great for a true "mud kitchen" feel. |
| Purchased Kit | $150 - $400+ | Low-Medium | Quick assembly with a polished look, but less room for personalization. |
Ultimately, planning your outdoor kitchen is really the first step of the adventure. Whether you're picturing a simple repurposed cabinet or a sprawling custom-built setup, figuring out your location and scope first sets you up for a successful project your kids will absolutely adore.
Choosing Smart and Durable Materials
The materials you choose are the heart and soul of your outdoor kids kitchen. They don't just determine how it looks; they're the key to its safety and how long it will survive the mix of enthusiastic play and unpredictable weather. It’s the difference between a one-season wonder and a backyard fixture that creates years of memories.
This decision taps into a bigger trend of families investing in quality outdoor living. The global outdoor kitchen market has exploded as people extend their homes into their backyards with durable, premium products. While your project is a bit smaller in scale, the principle is the same: smart material choices lead to lasting fun. You can discover more about this outdoor living trend.
Selecting the Right Wood for Your Build
Wood is the go-to for its natural look and how easy it is to work with, but not all wood is created equal—especially when it's left outside. The main goal here is to find something that can handle moisture, sun, and insects without a ton of maintenance on your part.
Cedar is a fantastic, top-tier choice. It has natural oils that make it inherently resistant to rot and bugs, which means you don’t need to treat it with harsh chemicals. It costs more upfront, but its longevity often makes it a worthy investment.
A more budget-friendly option is pressure-treated pine. It's chemically treated to resist decay and insects, making it very durable. Just make sure to get wood rated for "ground contact" and let it dry out completely before applying any child-safe finish.
No matter which wood you go with, the most critical step is sanding. Every single edge and surface must be sanded completely smooth. This eliminates any risk of splinters for those busy little hands.
Upcycling and Found Objects
Building an outdoor kitchen doesn't have to mean starting with a fresh pile of lumber. Upcycling old furniture can be a creative, sustainable, and often much faster route. A forgotten nightstand, a small sturdy cabinet, or even an old changing table can be the perfect foundation.
- Sinks and Basins: Stainless steel mixing bowls or sturdy plastic tubs make perfect, inexpensive sinks. Just cut a hole in your countertop, drop one in, and you can easily remove it for cleaning.
- Fixtures and Hooks: Simple metal hooks screwed into a backsplash are great for hanging whisks, spoons, and measuring cups. You can even add an old faucet from a thrift store for a touch of realism, functional or not.
- Countertops: A solid piece of exterior-grade plywood works well, as long as you seal it thoroughly. Another great option is using leftover composite decking boards, which are incredibly durable and weather-resistant.
Ensuring a Child-Safe Finish
Protecting the wood is a must, but your child's safety is the absolute priority. Many traditional outdoor stains and sealants contain chemicals you don't want near kids, who will inevitably be touching—and maybe even tasting—the surfaces.
Always look for finishes labeled "non-toxic" or "child-safe" once they are fully cured. Water-based outdoor polyurethane or a natural oil finish like tung oil are both excellent options. They seal the wood from moisture and give you peace of mind.
For another perspective on creating safe play spaces, check out our guide on finding the perfect tower height for little helpers who want to join in on the kitchen fun.
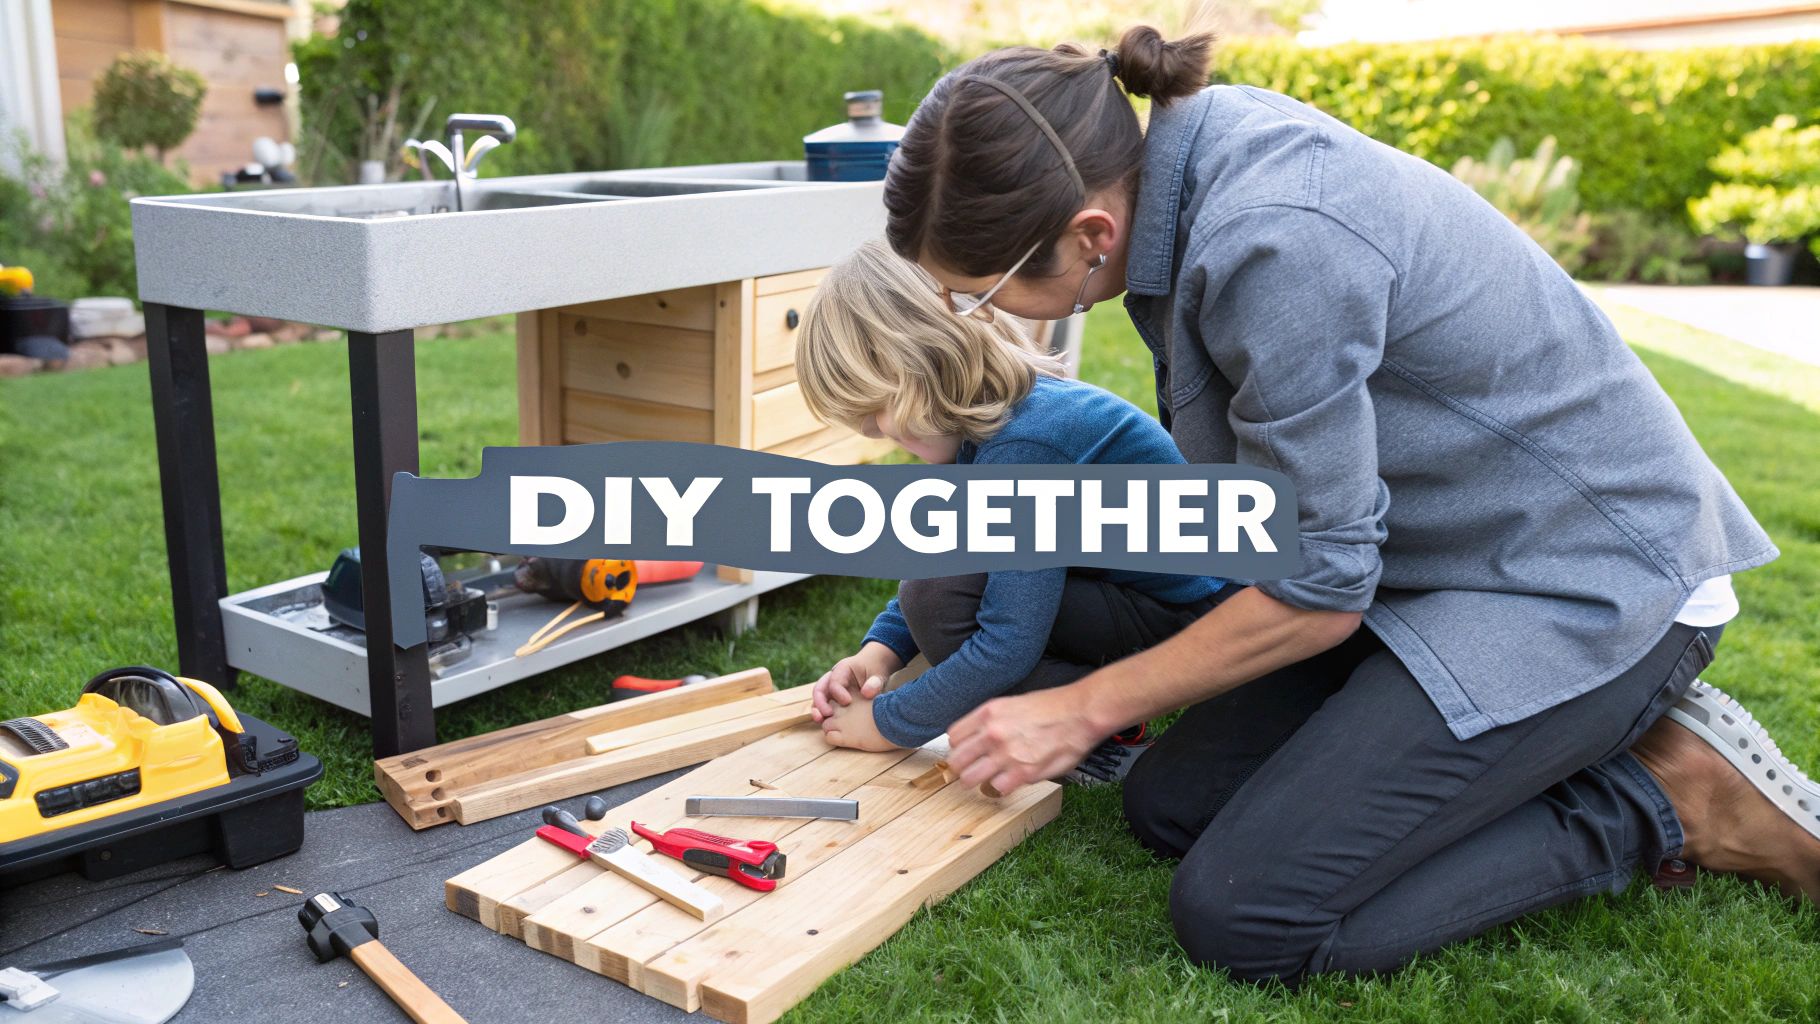
Bringing Your Outdoor Kitchen to Life
You've got your materials and a solid plan. Now for the best part—bringing it all to life. This is the moment when a pile of cedar planks, an old cabinet, or a stack of pallets starts to look like a real outdoor kids kitchen. The trick is to break the process down into manageable chunks so it never feels like a chore.
Think of it as building with blocks, one steady piece at a time. The first and most important step is always creating a stable base. Whether you're building a simple frame from scratch or giving an old nightstand a new purpose, the final structure has to be solid and completely wobble-free.
Constructing a Sturdy Foundation
The foundation of your kitchen is everything. An uneven or wobbly base isn't just annoying; it's a genuine safety risk. If you're starting from scratch, double-check that all your leg pieces are cut to the exact same length. Use weather-resistant screws to join them for a connection that will last.
For anyone upcycling furniture, give it a good inspection for any weak spots. That old cabinet might need a few extra wood braces screwed into the back or base to keep it from swaying. This is also the perfect time to make sure the whole thing will sit level on the ground.
Pro Tip: Before you add the heavy countertop, move the base to its final spot in the yard. Use a level to check it. If one leg is a little high, slide a flat, durable paver underneath it. This simple fix stops any rocking and gives your kids a safe surface to play on.
Adding Worksurfaces and Features
Once the base is rock-solid, you can get to the fun stuff. Attaching the countertop is a huge step that makes it instantly feel like a real kitchen. Be sure to secure it firmly from underneath with screws, so there are no sharp points poking through the top.
Next up is the "sink." A simple, removable plastic bin is a fantastic option because it's so easy to clean. Just trace its outline on the countertop, carefully cut out the hole with a jigsaw, and pop it in. The lip of the bin should hold it in place perfectly. This is also when you'll want to attach any backsplash or shelving you've planned.
Here are a few final checks that are absolutely critical:
- Sanding is Non-Negotiable: Before you call it done, sand every single edge, corner, and surface. Even wood that looks smooth can have tiny splinters just waiting to ruin a fun afternoon.
- Secure All Add-ons: Any hooks for utensils, knobs for pretend dials, or shelves need to be fastened tightly. You know little ones are going to pull and hang on them, so make sure they can take the abuse.
- Tip-Proof Your Creation: After it's all put together, give it a good, firm push from every side. If it feels like it could tip over, it needs to be anchored. Securing it to a fence, the side of the house, or even ground stakes is essential for worry-free play. For families looking for more ways to create safe play spaces indoors, our toddler tower collection offers some great ideas for kitchen helpers.
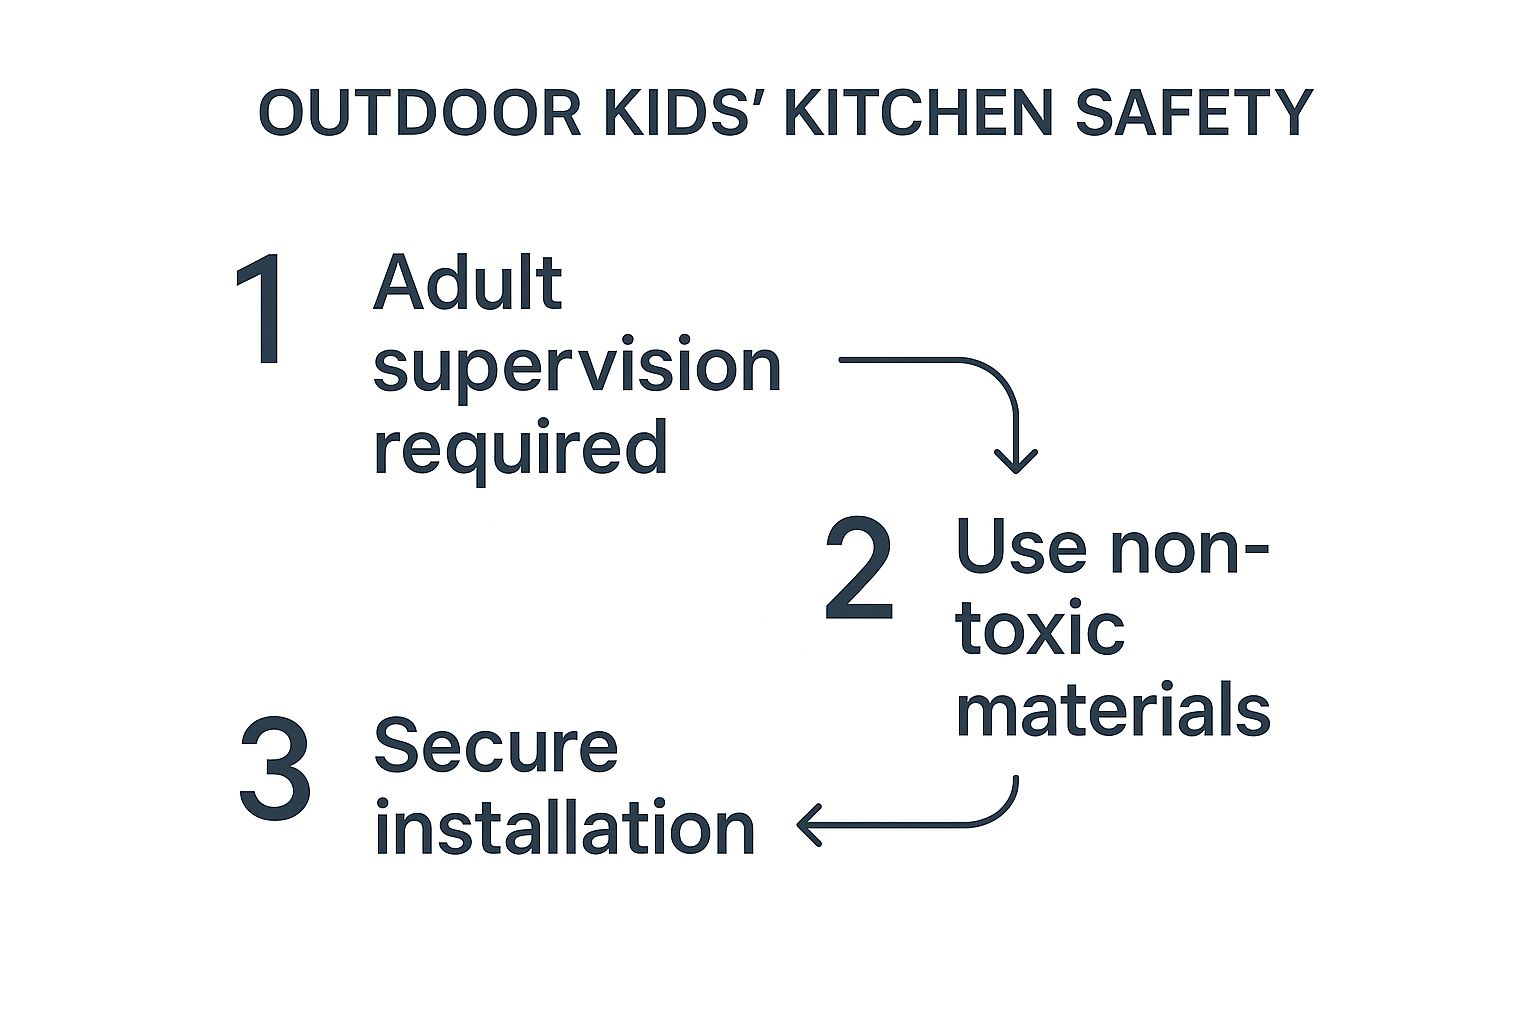
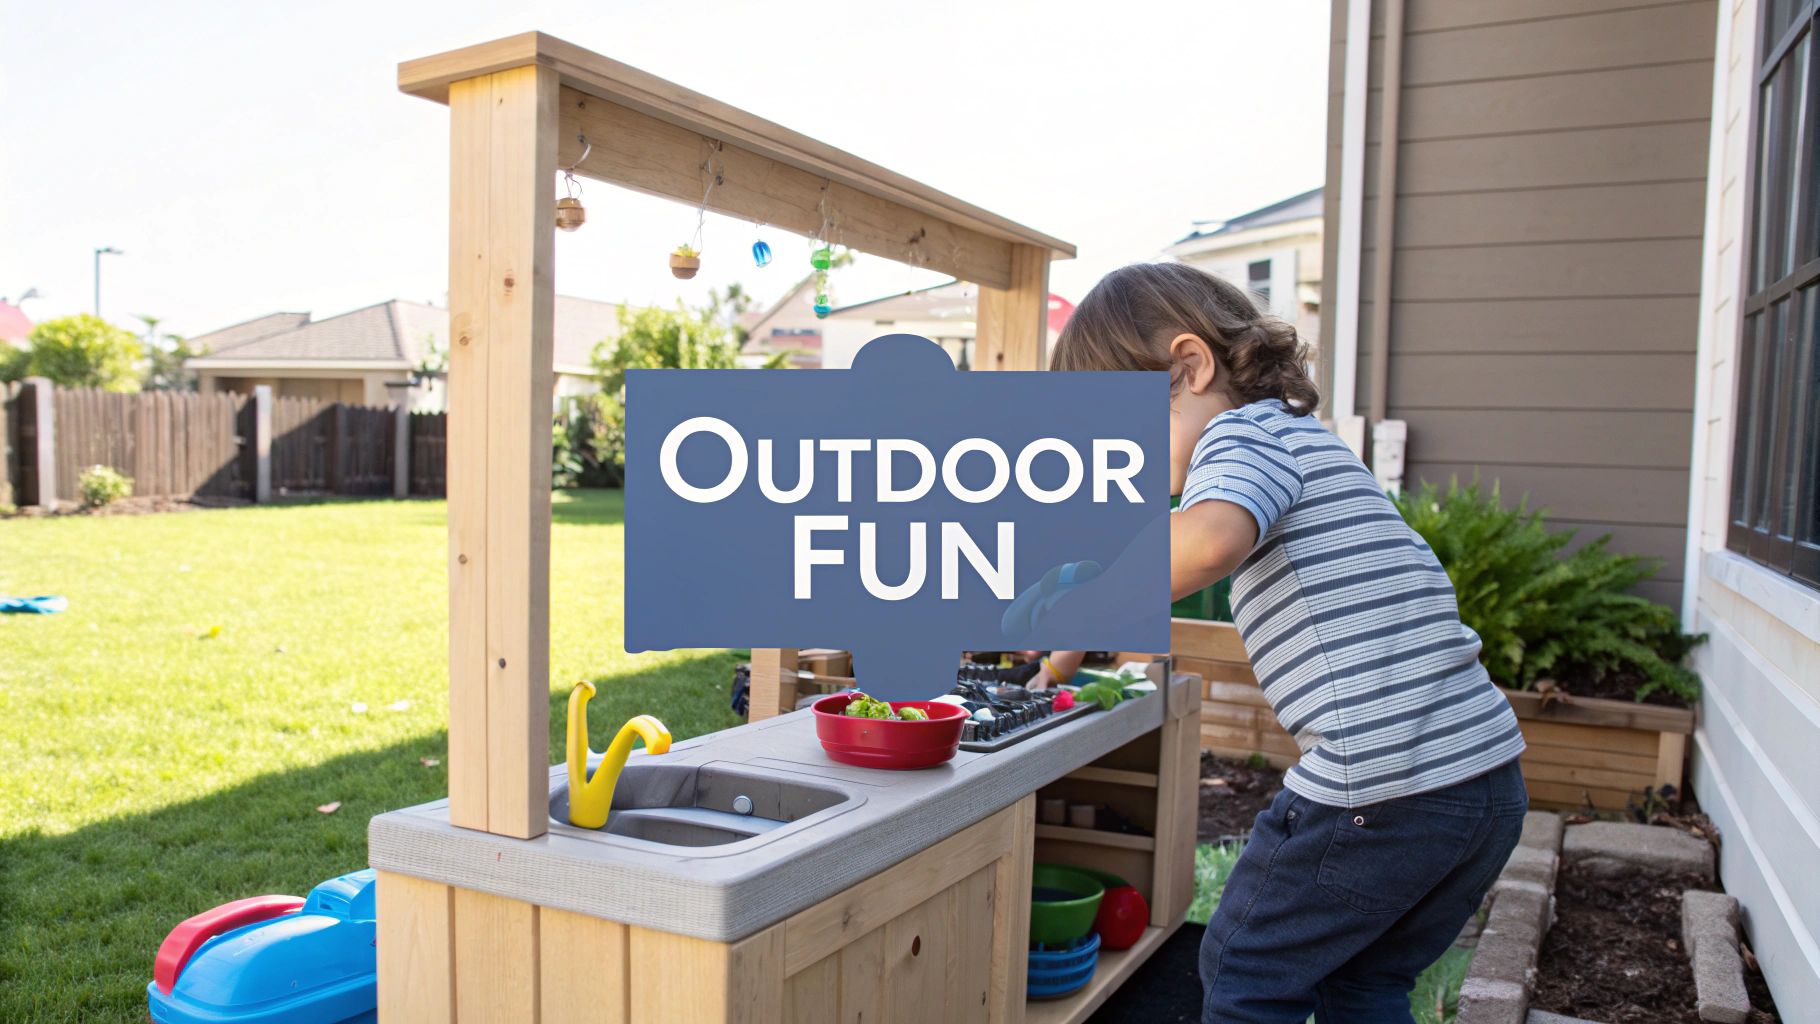
This image really drives home the core principles for a safe build: adult supervision, safe materials, and a secure structure. By keeping these three things in mind, you create a space where imagination can run wild without any risk. Building this kitchen is more than just a project; it's about creating a custom-made play area that will be loved for years.
Stocking Your Kitchen for Imaginative Fun
A well-built outdoor kids kitchen is a fantastic start, but the real magic happens when you start stocking the shelves. This is your chance to turn a simple wooden structure into a buzzing hub of creativity, and the best part? It doesn't mean a big shopping trip.
Forget the plastic food and look to the backyard for your ingredients. A bucket of smooth pebbles can become potatoes, acorns make perfect "meatballs," and a handful of fallen leaves are excellent "salad greens." This approach is not only free, but it also gets kids interacting with the natural world around them.
Sourcing Your Kitchen Tools
Thrift stores are an absolute goldmine for outfitting a play kitchen. You’re looking for durable, real-world tools that can handle some enthusiastic play and survive the elements. Just be sure to steer clear of anything fragile or with sharp edges.
Here are a few must-have items to hunt for on your next thrifting trip:
- Metal Bowls and Pans: Old stainless steel mixing bowls and small saucepans are practically indestructible and make the most satisfying clanking sounds.
- Utensils: Keep an eye out for sturdy wooden spoons, metal whisks, and old sets of measuring cups and spoons.
- Water Dispensers: A simple beverage dispenser with a spigot is an amazing find. It can act as a "running tap" for hours of water play.
The most engaging accessories are often the simplest. Providing open-ended items like bowls, spoons, and natural materials allows a child's imagination to do the heavy lifting, turning a pile of sand into a birthday cake or a few twigs into fancy utensils.
Adding Interactive Features
To really elevate the experience, a few small, interactive details can make all the difference. These final touches help make the kitchen feel like a truly special place that belongs entirely to them.
Painting a few black circles on the countertop creates instant "burners" for the stove, sparking all kinds of cooking scenarios.
Another fantastic addition is a small chalkboard or even a piece of painted hardboard. This gives them a place to write out the "daily specials" or draw pictures of their culinary creations, adding a huge layer of role-playing potential. When children have a dedicated space for play, it helps foster their independence and creativity. For more ideas on child-centric furniture, you can explore our thoughts on the classic Montessori table and chair setup.
Common Questions About Outdoor Kids Kitchens
Even the most well-thought-out plan can leave you with a few questions when you're building an outdoor kids kitchen. From picking the right materials to figuring out a cleaning routine, getting clear answers makes the whole project more fun for everyone. We've put together some of the most common questions we hear to give you quick, practical advice.
Think of this as your go-to guide for those little uncertainties. A bit of extra insight can make all the difference, ensuring your final creation is safe, sturdy, and ready for years of imaginative play.
What Is the Best Wood for a DIY Outdoor Kids Kitchen?
Hands down, cedar is often the best choice because of its incredible durability. It has a natural resistance to rot, decay, and insects, which means it can handle being outside without needing harsh chemical treatments. It's a fantastic long-term investment.
If you're looking for a more budget-friendly option, pressure-treated pine is a great alternative that also holds up well against the elements. If you go this route, just be sure it's rated for ground contact and has had plenty of time to dry out completely before you start working with it.
No matter which wood you pick, the most critical step is sealing it. Always use a non-toxic, child-safe outdoor sealant. This protects the wood from moisture and extends its life, all while keeping little hands safe.
How Can I Make a Mud Kitchen Without Building from Scratch?
Upcycling is your best friend here! It’s a brilliant and easy way to create a charming mud kitchen with minimal effort. Keep an eye out for sturdy, unwanted furniture like an old nightstand, a small cabinet, or even a changing table. These pieces give you a solid base to start with.
From there, you can just cut a hole in the top surface to drop in a removable plastic bin—it makes the perfect sink. Add a fresh coat of child-safe outdoor paint and screw in a few hooks for utensils, and you've got a functional kitchen ready in just an afternoon.
What Are the Most Essential Accessories for an Outdoor Kitchen?
Try to focus on the basics that invite hands-on, interactive play. A removable bin to act as a "sink" is absolutely essential for any mud or water activities. After that, a simple collection of old, durable kitchen tools will get the most love.
- Durable Cookware: Sturdy metal or thick plastic pots, pans, and mixing bowls are a must-have.
- Useful Utensils: Look for old spoons, whisks, and measuring cups that can handle some enthusiastic mixing.
- Natural Ingredients: Provide a few buckets for collecting leaves, stones, sand, and other "ingredients" to spark endless creativity.
A small, simple chalkboard for writing out menus or daily specials is another wonderful touch that adds a whole new layer of imaginative fun.
How Do I Maintain the Outdoor Kitchen and Keep It Clean?
Thankfully, regular maintenance is pretty straightforward. For any wooden kitchen, you'll want to check for splinters every so often. It's also a good idea to re-apply a child-safe sealant once a year to keep the wood protected.
The best trick is to encourage a "clean-up" routine right after playtime. Having your child help rinse out the sink bin and tools with a hose is a great habit to build. You can store the smaller accessories in a nearby waterproof container to keep them out of the elements and prevent the play area from getting too cluttered. A quick sweep of the surfaces after use will stop dirt from building up over time.
At Ocodile, we believe in creating safe and inspiring spaces for children to learn and play. Our thoughtfully designed furniture helps turn everyday moments into cherished family memories. Explore our collections and find the perfect piece to support your child's journey of discovery at https://ocodile.com.