


Secure Furniture to Wall A Practical Safety Guide
To secure furniture to the wall, you need to use anchoring hardware, like straps or L-brackets, to connect the piece directly to a wall stud. This is the single most effective thing you can do to prevent a dangerous tip-over accident, and it’s an absolute non-negotiable for homes with young children.
Why Anchoring Your Furniture Is a Critical Safety Step

That solid-looking dresser or bookcase in your child's room? It holds an invisible risk. Even the heaviest, sturdiest-seeming piece of furniture can become unstable in a heartbeat. All it takes is a curious toddler opening drawers, creating a makeshift ladder to reach something up high.
With each open drawer, the center of gravity shifts forward. The weight of a small child climbing is often the final push it needs to topple over. It happens frighteningly fast. This isn't about watching your child every second; it's about getting rid of a hidden danger before an accident ever has the chance to happen.
Understanding the Real-World Risk
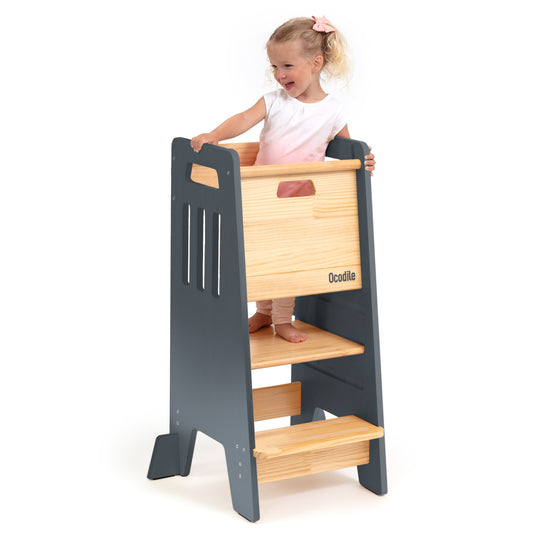
It helps to think about this from a kid's point of view. To them, a dresser isn't just for clothes—it’s a mountain to conquer. Those drawers are perfect little steps to get to a toy on top. They simply don't see the danger, which is why we have to. Many parents find that items like the best learning tower give kids a safe, approved place to climb, but that doesn't eliminate the temptation of other furniture.
The statistics really paint a sobering picture. Between 2000 and 2014, the U.S. Consumer Product Safety Commission (CPSC) reported that tip-over incidents were responsible for over 400 deaths. Tragically, more than half of those fatalities were children under the age of five. This just underscores how vulnerable our little ones are.
Anchoring furniture isn't just a "good idea"—it's a fundamental part of childproofing. You're transforming a potential hazard into a secure part of your home, and that brings incredible peace of mind.
A Mindset Shift from Reaction to Prevention
Try to frame this task as an empowering act of prevention, not just another chore on the list. By taking an hour or so to properly anchor your furniture, you're eliminating a huge, preventable risk. This proactive step creates an environment where your kids can explore more freely and you can breathe a little easier.
Think about the common culprits in your own home that pose a tip-over risk:
- Tall Bookcases: Especially when they're loaded up with heavy books.
- Chests of Drawers: These are the primary offenders in so many childhood injuries.
- TV Stands and Media Consoles: Even with lighter flat-screen TVs, the furniture itself can be wobbly.
- Freestanding Wardrobes: These are often top-heavy by design.
Every one of these pieces is an opportunity to make your home significantly safer. The goal is to start seeing your space through a new lens, recognizing that this one-time task provides lasting protection for the people you love most.
Choosing the Right Anchoring Hardware for Your Walls

Walking into the hardware store and facing a wall of anchors can feel a little overwhelming. But getting this one decision right is probably the most critical part of the entire process to properly secure furniture to wall surfaces.
That flimsy plastic strap that came in the box with your new dresser? It might not be enough. Your choice has to account for your furniture’s size and weight, but even more importantly, what your walls are actually made of. A heavy, solid oak armoire needs a totally different solution than a lightweight particleboard bookcase.
Matching Hardware to Your Furniture
First, let's look at the piece you're trying to secure. For most everyday dressers, bookcases, and cabinets, those flexible nylon straps are actually a great choice. They’re forgiving if your wall isn't perfectly straight and can be installed high up on the furniture for the best leverage against tipping.
But if you're dealing with something extremely heavy or tall, like a wardrobe or a big entertainment center, you’ll want to step up to robust steel L-brackets. These create a really rigid connection point. Just make sure you fasten one side to a solid part of the furniture's frame—not just the thin backing board.
Understanding Your Wall Type Is Crucial
This is the big one. The single biggest factor in choosing your hardware is the wall you're drilling into. What’s behind that paint? A mismatch between your anchor and your wall is a recipe for disaster. You can't just use any old screw and cross your fingers.
To help you figure it out, here’s a quick look at the most common types of walls and the hardware that works best for each.
Furniture Anchor Type Comparison
Not all anchors are created equal, and the right one depends entirely on your wall. This table breaks down the common options so you can pick the perfect match.
| Anchor Type | Best For | Pros | Cons | Ideal Wall Type |
|---|---|---|---|---|
| Nylon Straps | Dressers, bookcases, general furniture | Flexible, adjustable, easy to install | Not ideal for extremely heavy items | Drywall with Studs |
| L-Brackets | Very heavy or tall items (wardrobes) | Extremely strong and rigid connection | Less forgiving, more visible | Drywall with Studs, Brick |
| Toggle Bolts | Securing to drywall where no stud is present | Distributes weight over a large area | Requires a larger hole to install | Hollow Drywall, Plaster |
| Masonry Anchors | Securing to hard, dense surfaces | Creates a rock-solid hold in brick/concrete | Requires a special masonry drill bit | Brick, Concrete, Cinder Block |
Using a basic screw in hollow drywall, for example, is like trying to hang a picture with a pushpin—it simply won't hold under real force. Always match the anchor to the wall material for a truly secure setup.
Now for a bit more detail on each wall type:
- Drywall with Wood Studs: This is the gold standard. Driving a long screw directly into a solid wood stud gives you the strongest hold possible. Do yourself a favor and get a good stud finder; it makes life so much easier.
- Hollow Drywall (No Stud): Can't find a stud exactly where you need one? You’ll need a hollow wall anchor. Toggle bolts are fantastic here. They have little "wings" that spring open behind the drywall, spreading the load out so it doesn't just rip through the wall.
- Plaster Walls: If you live in an older home, you might have plaster and lath walls. These are notoriously brittle, so you absolutely have to pre-drill your holes. Toggle bolts are a great choice here, too, because they anchor against the solid wood lath behind the crumbly plaster.
- Brick or Concrete: For masonry walls, you'll need special concrete screws or anchors. This involves drilling a pilot hole with a masonry bit (your regular bits won't cut it) and using an anchor sleeve that expands as you tighten the screw for a super-tight fit.
Remember, the anchor's job is to create an unshakeable connection between the furniture and the structural part of your wall. The hardware must be rated to hold more than the weight of the furniture itself to withstand the dynamic force of a potential tip-over.
This growing awareness of home safety isn't just anecdotal. The global market for wall-mounted shelves and secure furniture was valued at around USD 3.5 billion recently and is only expected to grow. This shows a real shift as more families prioritize creating safer living spaces. You can find more insights on the secure furniture market from Verified Market Reports. Choosing the right hardware is a small step, but it puts your home right at the center of this important safety trend.
How to Properly Install Furniture Anchors
Alright, let's get to the hands-on part. Putting in furniture anchors isn't rocket science, but doing it the right way is what really matters. Think of this less as a rigid set of instructions and more as me walking you through it, so you end up with a rock-solid result that keeps your family safe.
The absolute most critical step in this whole process is finding a wall stud. Most of your wall is just hollow drywall, but studs are the strong vertical wood beams that make up the frame of your house. When you anchor into a stud, you're connecting the furniture to the skeleton of your home, and that's how you get the strongest possible hold.
Your best friend for this job is a good quality stud finder. Just slide it across the wall, and it'll beep or light up when it finds a stud. I always mark both edges with a pencil and then find the dead center—that's your sweet spot for drilling. No stud finder? You can try the old-school knock test. A hollow sound means you're over drywall, but a solid, dull thud usually means you've found a stud.
Marking and Drilling Your Pilot Holes
Once you've zeroed in on a stud, it’s time to mark your spots. Here’s a pro tip: always place the wall-side of the anchor as high up on the furniture as you can without it being visible from the front. A higher anchor point gives you better leverage against tipping, making it way more effective.
Hold the wall bracket right over the center of the stud and use a pencil to mark where the screw needs to go. For the other bracket, find a solid part of the furniture's frame—never attach it to that flimsy cardboard-like backing. On a dresser, the top or a solid upper rail is perfect.
Before you start drilling, take a second to check your drill bit size. If the bit is too big, the screw won't be able to get a tight grip. Too small, and you risk splitting the wood inside the wall. The instructions with your anchor kit should tell you the right size, but a good rule of thumb is to pick a bit that’s just a little smaller than the screw's solid core (the part without the threads).
This visual guide breaks down the core installation into three simple stages.
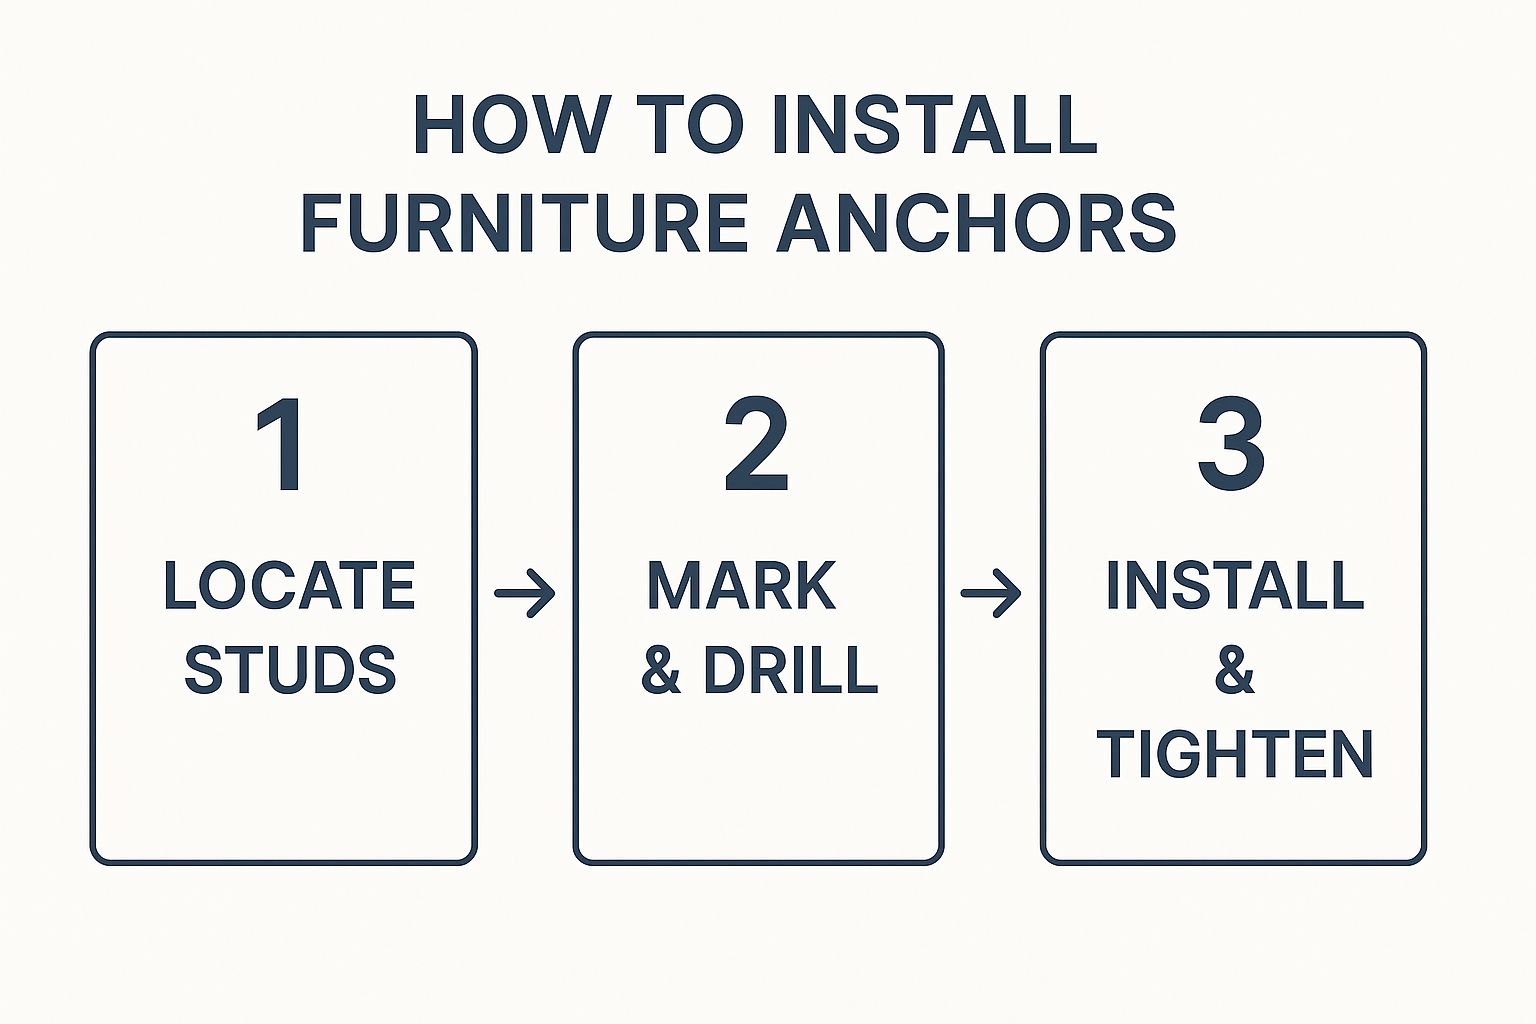
As you can see, finding that stud is the foundation for everything else. Get that right, and you're well on your way.
Attaching the Anchors and Securing the Furniture
With your pilot holes ready, it's time to install the hardware. Screw the wall bracket firmly into the stud until it’s snug and flush against the wall. Next, attach the other bracket to the back of the furniture.
Now, you just have to connect the two pieces with the strap or cable that came in the kit. The final step is crucial: pull the connection completely tight until there’s no slack at all. A loose strap can let the furniture build up momentum before the anchor catches, which dramatically reduces how effective it is.
Give the furniture a firm tug to test your work. It shouldn't budge or wobble one bit. A properly secured piece feels like it's a permanent part of the wall.
This simple process is a powerful way to secure furniture to wall surfaces and create a much safer home. While most anchor kits have their own guides, you can often find more detailed, product-specific info online. Ocodile, for example, has some great resources; you can check out their general installation instructions for kids' furniture to get a feel for best practices.
Remember, this isn't about getting it perfect—it's about getting it safe. Taking those few extra minutes to find a stud, use the right hardware, and get a taut connection is what turns a potential hazard into just another stable, secure piece of your home.
Even when you have the best intentions, it's surprisingly easy to make a small mistake that could compromise the whole setup. I’ve helped countless friends and family secure furniture to wall surfaces, and I see the same issues come up over and over again.
Knowing these common pitfalls ahead of time is the difference between a truly secure piece of furniture and just a false sense of security.
One of the biggest culprits? Using screws that are just too short. That little screw that came in the anchor kit might be fine for the furniture side of things. But for the wall, you need something much beefier. It has to go through the drywall (typically a half-inch thick) and then bite at least 1.5 inches into the solid wood stud behind it. Anything less just won't have the holding power you need.
Another classic mistake is missing the stud completely. You might think you hit it, but if your screw just keeps spinning without getting tight, you've likely just punched it into the hollow space between studs. This gives you almost zero protection. Always, always double-check your stud location before you drill.
Dealing with Tricky Walls and Furniture
Of course, not every home has perfect walls made of drywall and wood studs, and not every piece of furniture has a nice, flat back. These are the real-world challenges where people tend to get stuck.
- Plaster and Lath Walls: If you live in an older home, you probably have these. The walls are brittle and can crumble easily. You absolutely have to pre-drill your hole to prevent cracking. In my experience, a toggle bolt is your best bet here, as it anchors against the sturdy wood lath behind the plaster.
- Brick or Concrete: You can't just power a regular screw into masonry—it'll go nowhere. You'll need a special masonry drill bit to create a pilot hole, and then use masonry-specific anchors that are designed to expand for a super-tight fit.
- Metal Studs: These are popping up more and more in newer construction. Standard wood screws are useless here. You’ll need to grab some self-drilling metal screws or use toggle bolts to get a secure grip.
And what about that annoying gap between the furniture and the wall, usually caused by a thick baseboard? Don't just yank the anchor strap tight and call it a day. This puts a ton of stress on the furniture's frame and can weaken it.
The simple solution is to cut a small block of wood to use as a spacer. Attach it to the wall first, right where you plan to anchor, and then screw your anchor into that wood block. This gives you a solid, flush connection point.
The goal is to eliminate any slack or awkward angles in your anchoring system. A straight, taut connection from the furniture frame to the wall stud is what provides maximum stability.
The Overlooked Dangers
Beyond the initial installation, some of the biggest mistakes happen over time. One that I see far too often is people forgetting to re-anchor furniture after moving it. It doesn't matter if you moved it to a new room or just pulled it out to clean behind it—that anchor needs to be properly reinstalled every single time.
It’s an easy step to skip when you're in a hurry, but failing to do so completely undoes all of your hard work.
Sometimes you run into a head-scratcher during the installation process. This little chart should help you troubleshoot some of the more common issues I've seen.
Troubleshooting Common Anchoring Problems
| Problem | Likely Cause | Solution |
|---|---|---|
| Screw keeps spinning | You missed the stud and are in hollow drywall. | Use a stud finder to locate the stud. If no stud is available, use a hollow-wall anchor like a toggle bolt. |
| Furniture sits away from the wall | Baseboards or an uneven back create a gap. | Install a wood block spacer on the wall behind the anchor point to create a flush surface. |
| Plaster is crumbling | Drilling is cracking the brittle plaster surface. | Use a smaller drill bit to create a pilot hole first, then widen it. Use toggle bolts for a secure hold. |
Avoiding these simple mistakes is just as important as the initial installation itself. When you secure furniture to wall surfaces, taking the time to address these tricky situations properly ensures your efforts are truly effective. It’s what keeps your home—and your family—safe from tip-over accidents.
Creating a Safer Home Room by Room
Once you secure your first piece of furniture, something funny happens. You start seeing your home through a new lens.
Suddenly, that bookshelf in the corner or the small cabinet in the hallway doesn't just look like decor anymore—it looks like a potential hazard. This shift in perspective is exactly what you want. It’s the first step toward creating a truly safe environment for your family.
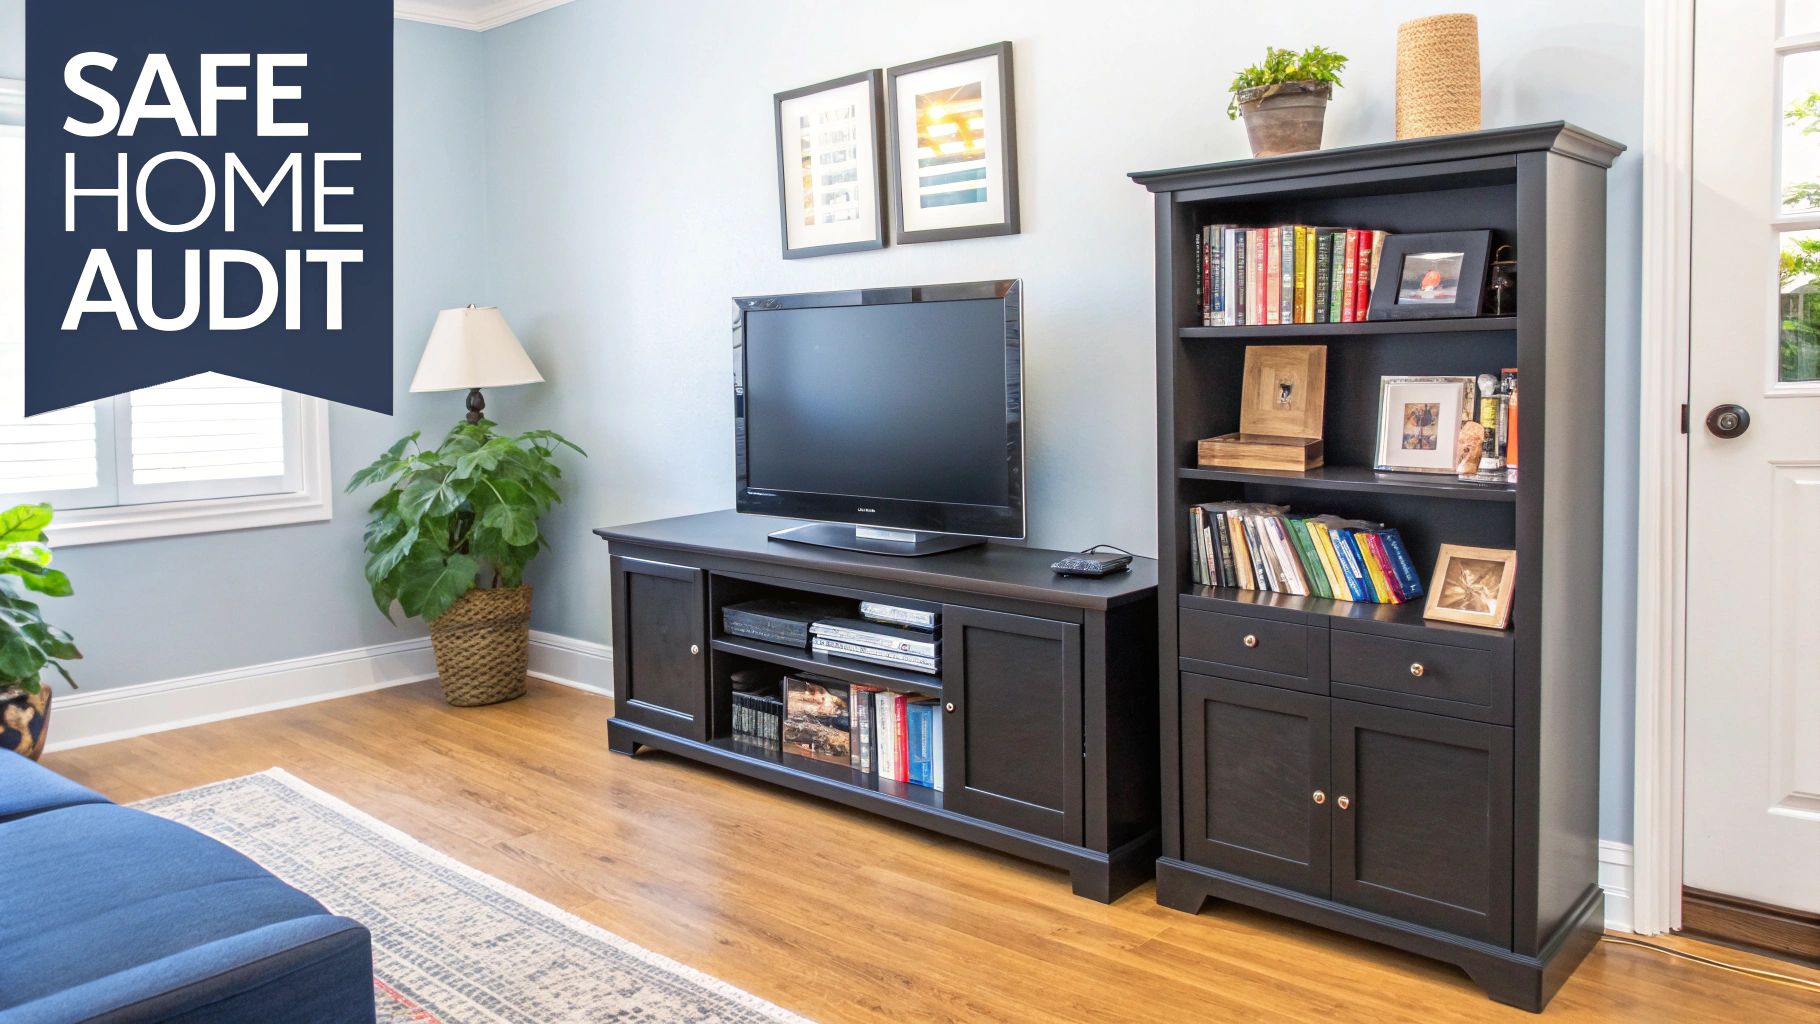
The next move is to channel that new awareness into a plan. Instead of just spotting risks as you see them, it's time for a simple "safety audit." Go through your home, one room at a time, and identify every single piece of furniture that needs to be anchored.
This is about moving beyond a one-time fix and building a mindset of ongoing home safety.
Your Room-by-Room Safety Checklist
To make this feel less like a chore, let's break it down into a practical checklist. The goal is to methodically identify and secure furniture to the wall without overlooking anything.
I always suggest starting with the highest-risk areas and working your way through the rest of the house. Here’s a simple guide to get you started:
- Bedrooms (Especially for Children): This is ground zero. Your top priority. Look for dressers, chests of drawers, bookcases, and wardrobes. Even low-profile items can be a risk if a curious toddler can open the drawers and use them as a makeshift ladder. While you're at it, finding good toys storage organizers can also help reduce the temptation for kids to climb furniture to reach things.
- Living and Family Rooms: The main culprits here are usually bookcases, media consoles, and TV stands. Even with modern flat-screen TVs, the furniture itself can be surprisingly unstable. Don't forget about display cabinets or any tall, narrow shelving units.
- Playrooms: This one’s a no-brainer. Any storage units, cubbies, or shelving need to be anchored. These rooms are designed for exploration and play, so stability is non-negotiable.
- Other Areas: Don't forget the less-obvious spots. A small storage cabinet in the garage, a freestanding pantry in the kitchen, or that wobbly console table in the entryway can all pose a real risk.
A good rule of thumb I always follow: anchor any piece of furniture a child could conceivably climb on, or any piece that feels even a little top-heavy or unstable when you give it a gentle push.
This proactive approach to safety is becoming more common. The multifunctional furniture market, which often includes secure, wall-mounted pieces, was recently valued at a staggering USD 7.21 billion. By securing furniture, people aren't just baby-proofing; they're making their homes safer and more functional for everyone. Your home safety audit is part of this larger shift toward smarter, safer living spaces.
A Few Final Questions on Anchoring Furniture
Even after you've got the tools and the plan, a few questions always seem to pop up. It's totally normal. When it comes to keeping your kids safe, you want to be 100% sure you're getting it right. Let's tackle some of the most common things people ask.
Do I Really Need to Anchor All My Furniture?
The short answer is: probably more than you think. Tall, tippy pieces like bookcases and dressers are the obvious culprits, but a curious toddler can get creative. Think about TV stands, chests, and even heavier nightstands—if a child might be tempted to climb it, it needs to be secured.
A good rule of thumb is to anchor any piece of furniture that's over 30 inches tall. But don't stop there. Take a look around for lower, more unstable items that an adventurous little one might see as the next mountain to conquer.
The real goal isn't just to stop the big items from falling. It's about creating a truly safe space by getting rid of all the tip-over risks you can predict, no matter how big or small.
Can I Anchor Furniture If I’m Renting?
Yes, absolutely! This is a huge concern for renters, but it shouldn't stop you. The small screw holes you'll make are incredibly easy to patch up with a dab of spackle and a little paint when you're ready to move out.
It's a tiny repair that takes just a few minutes, but it provides a massive amount of safety while you live there. It's always smart to check your lease agreement, but most landlords are very understanding when it comes to childproofing. That peace of mind is worth every bit of the minimal effort.
How Many Anchors Are Enough?
For most standard pieces like a dresser or a bookcase, two anchors will do the job perfectly. For the best stability, you'll want to place them as high up and as far apart on the furniture as you can.
Now, if you're dealing with something extra wide or heavy—like a big media console or a long triple dresser—adding a third anchor in the center is a really smart move for extra support. Always give the anchor kit's instructions a quick read for any specific weight limits or recommendations they might have.
At Ocodile, we believe creating a safe home shouldn't be complicated. Our thoughtfully designed children's furniture is crafted to support your child's independence while giving you peace of mind. Explore our collections and build a safer space for your family to grow and play. https://ocodile.com