



Floor Bed Plans That Actually Keep Kids Safe
You're standing in the doorway at bedtime, watching your toddler climb out of the crib again. The crib-to-bed options look flimsy, oversized, or shaped like plastic playhouses, so you search for floor bed plans and find a photo of a mattress sitting on the floor. That isn't a plan. It's an unfinished room-safety decision.
Table of Contents
- The Honest Case for a Floor Bed
- Measurements, Materials, and Tools to Gather First
- Three Floor Bed Styles Compared
- Cut List and Step-by-Step Build Sequence
- Finishing, Hardware, and Structural Safety Checks
- The Whole-Room Safety Plan Around the Bed
- Cost, Time, and the Question to Ask Before You Start
The Honest Case for a Floor Bed
A floor bed makes sense when your child is ready for more independent movement and you're ready to prepare the entire room around that freedom. It reflects the Montessori idea that a child's environment should support purposeful activity, choice, and practical independence. Maria Montessori's first Casa dei Bambini opened in Rome on January 6, 1907, and the approach later spread internationally. The furniture mattered because it matched the child's scale, not because a low mattress was automatically safe. (BBC Future explains the Montessori context)
The decision that controls every cut is the mattress. A U.S. toddler bed must accept a full-size crib mattress measuring at least 51 5/8 by 27 1/4 inches, and it's intended for children at least 15 months old and no heavier than 50 pounds under CPSC guidance. (CPSC toddler-bed requirements)
My rule: Never build the frame first and “make the mattress fit.” Measure the mattress, then design the opening around it.
A good floor bed is stable, smooth, precisely fitted, and part of a prepared room. A bad one is a loose mattress beside a wall, reachable cords, an unsecured dresser, and a parent assuming that low means risk-free. Freedom of movement is the point, so the room has to be ready for a child who can leave the bed.
Measurements, Materials, and Tools to Gather First
A safe floor bed starts with the mattress envelope. Measure the actual mattress, then set the interior opening to hold it securely while allowing insertion and removal. Leave no opening where a child's head or neck could become trapped. The CPSC toddler-bed rule incorporates ASTM F1821 requirements for mattress support, openings, guardrails, side rails, and end structures.
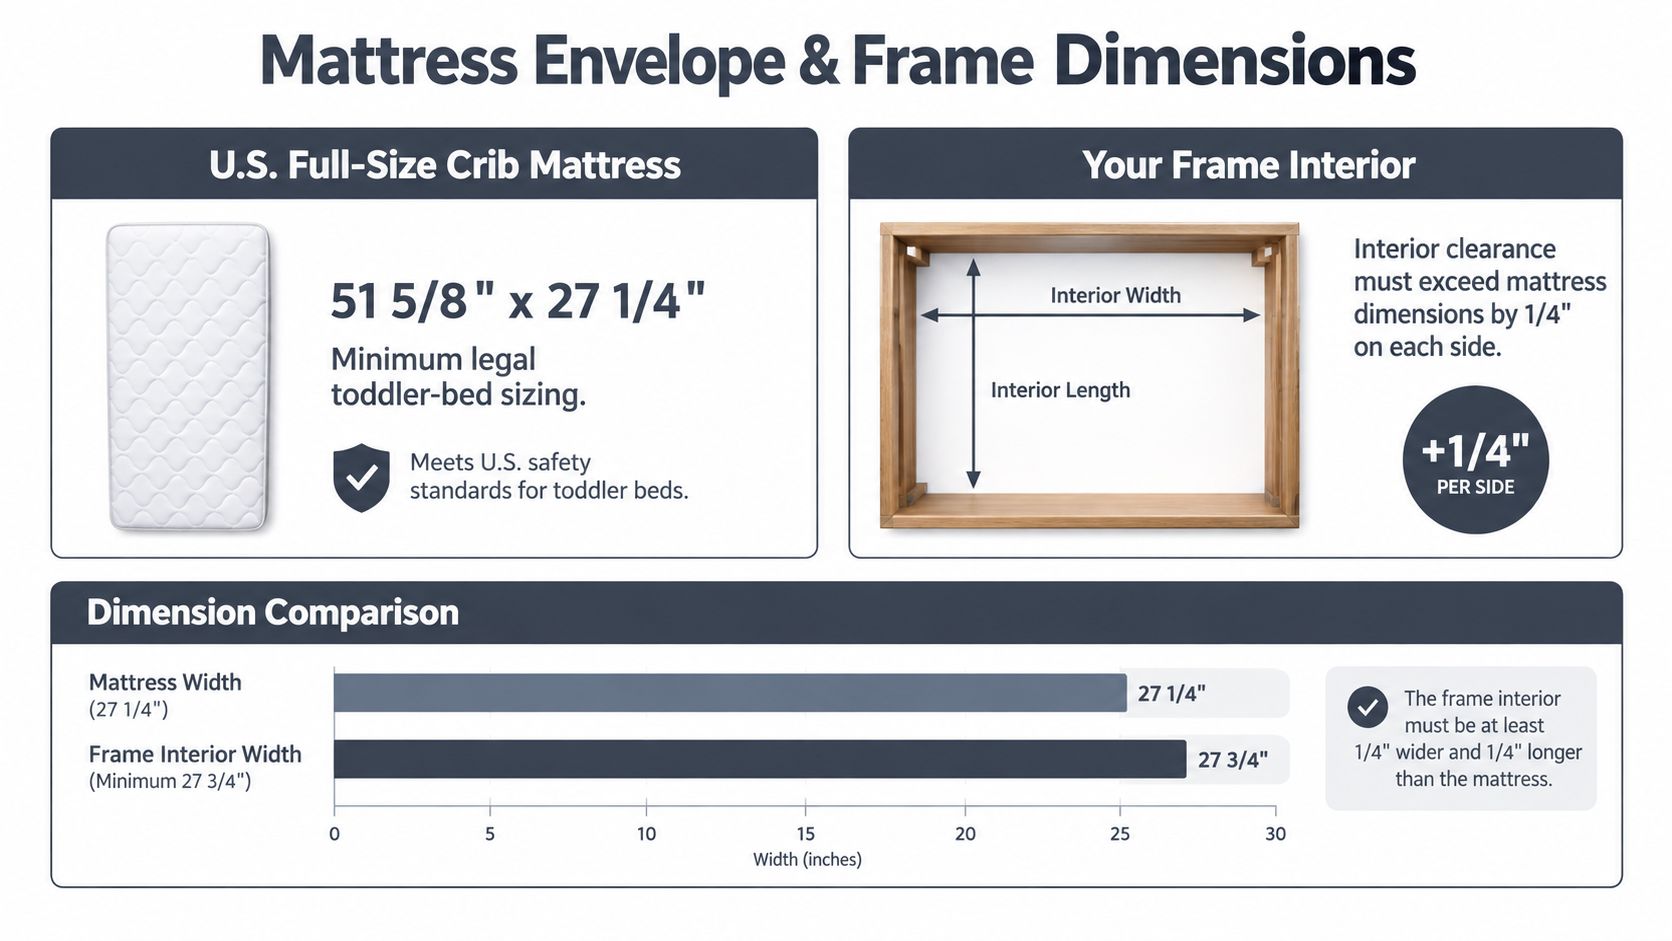
Choose the mattress before the lumber
| Mattress type | Minimum size (in) | Typical child age | Notes |
|---|---|---|---|
| Crib | 51 5/8 × 27 1/4 | Toddler transition | Verify the exact mattress before cutting |
| Twin | Measure your mattress | Growing child | Build around the real product dimensions |
| Full | Measure your mattress | Older child | Requires a larger room and stronger support |
For selection guidance, use this Montessori floor bed mattress guide.
Choose kiln-dried hardwood or cabinet-grade plywood for structural parts. Skip MDF. Its edges swell with moisture and can break down under repeated fastener stress. Gather a tape measure, square, drill, countersink bit, saw, clamps, sandpaper, wood glue, and fasteners matched to the material thickness.
The two measurements that control the build are the actual mattress dimensions and the finished interior opening. Record both before cutting. A Solid Wood Twin Over Twin Bunk Bed For Kids offers another low-to-the-floor configuration that preserves play space, but its openings, rails, and installation still require careful checking. Treat the surrounding room as part of the build: locate cords, check nearby furniture, and plan anchor points before the frame reaches the floor.
Three Floor Bed Styles Compared
A low platform is the simplest option. It keeps the mattress close to the floor and avoids tall rails, but the child can leave the bed immediately. Choose it only when the room has already been childproofed and nighttime wandering is manageable.
A recessed mattress frame adds shallow walls around the mattress. It gives the mattress a defined position and can reduce sideways movement, but every corner and opening needs inspection. Don't create a decorative gap that looks harmless but can catch a head, neck, limb, or clothing.
A rail-style frame uses one or two guardrails. It offers more containment, especially during the transition from a crib, but rails introduce joints, openings, projections, and load paths that must remain secure. A loose guardrail is worse than no guardrail because it creates a false sense of protection.
| Style | Best use | Main weakness |
|---|---|---|
| Low platform | Fully prepared rooms | No physical containment |
| Recessed frame | A defined mattress position | Entrapment gaps |
| Rail-style frame | Transition period | Loose hardware and openings |
For most families, I'd choose the simplest style that matches the child's readiness. More wood doesn't automatically mean more safety.
Cut List and Step-by-Step Build Sequence
Build from the mattress outward. For a crib-size version, cut two long rails and two end rails to create the measured interior opening, then add a low support platform or slats beneath the mattress. Don't copy nominal crib dimensions from a diagram. Measure your mattress and record the length, width, and thickness before cutting.
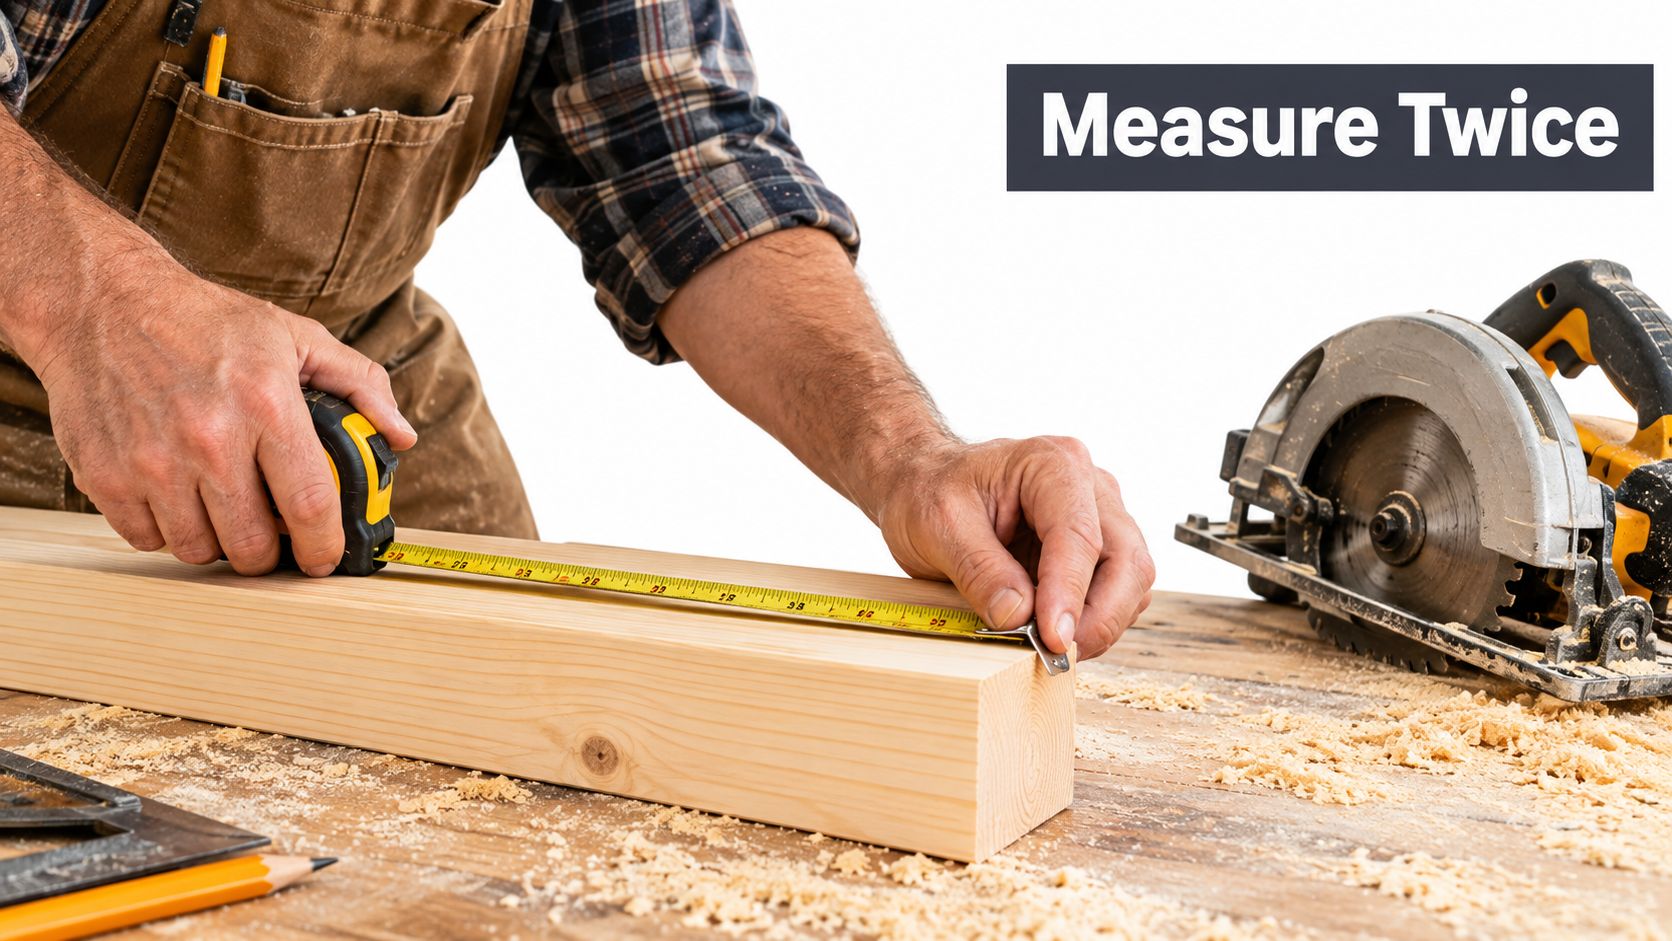
Build in this order
- Break down the stock. Cut rails square and label each piece. A small error compounds across four corners.
- Dry-fit the rectangle. Clamp the rails together and check both diagonals. Equal diagonals mean the frame is square.
- Use structural joints. Reinforce corners with screws, bolts, dowels, or pocket-hole joinery suited to the stock. Butt joints alone aren't enough for a child's bed.
- Install the support. Fit slats or a solid support system so the mattress can't slide, sag, or contact sharp hardware.
- Test-fit the mattress. Check the full perimeter. Stop if the fit is loose, forced, or uneven.
- Add rails only after the base is rigid. Guardrail hardware needs solid material and must not split the rail.
- Shake the assembled frame. Push from every direction. Any movement means the joint or fastener system needs work.
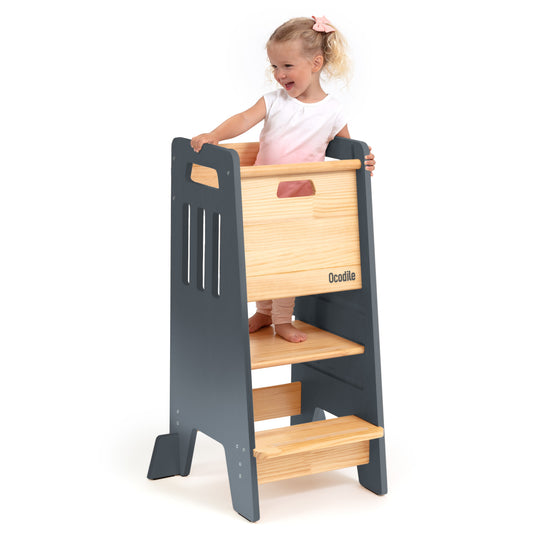
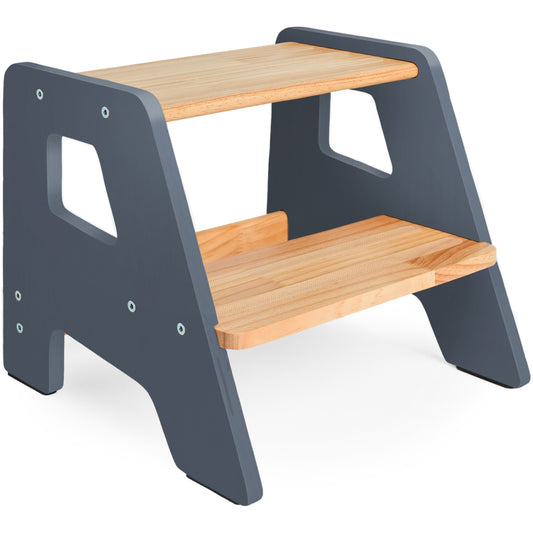
A Montessori furniture plans guide can help you think beyond the bed as a standalone object. Keep nearby independence tools stable too. For example, a 2-Step Wooden Stool for Toddlers (Step Stool for Children Ages 2+) is intended to help children reach sinks, toilets, beds, and counters independently from age 2.
Use the video as a visual reference for measuring and assembly, not as a substitute for checking your exact mattress and room.
Finishing, Hardware, and Structural Safety Checks
Sanding isn't the finish line. It's the point where you begin checking whether the bed behaves like child furniture instead of a weekend project.
Use a low-VOC or food-safe oil finish, or a water-based polyurethane that's fully cured before use. Don't use leaded paint or mystery coatings. Round exposed edges, countersink hardware until it sits flush, and remove every splinter, sharp corner, and decorative projection that could catch clothing.
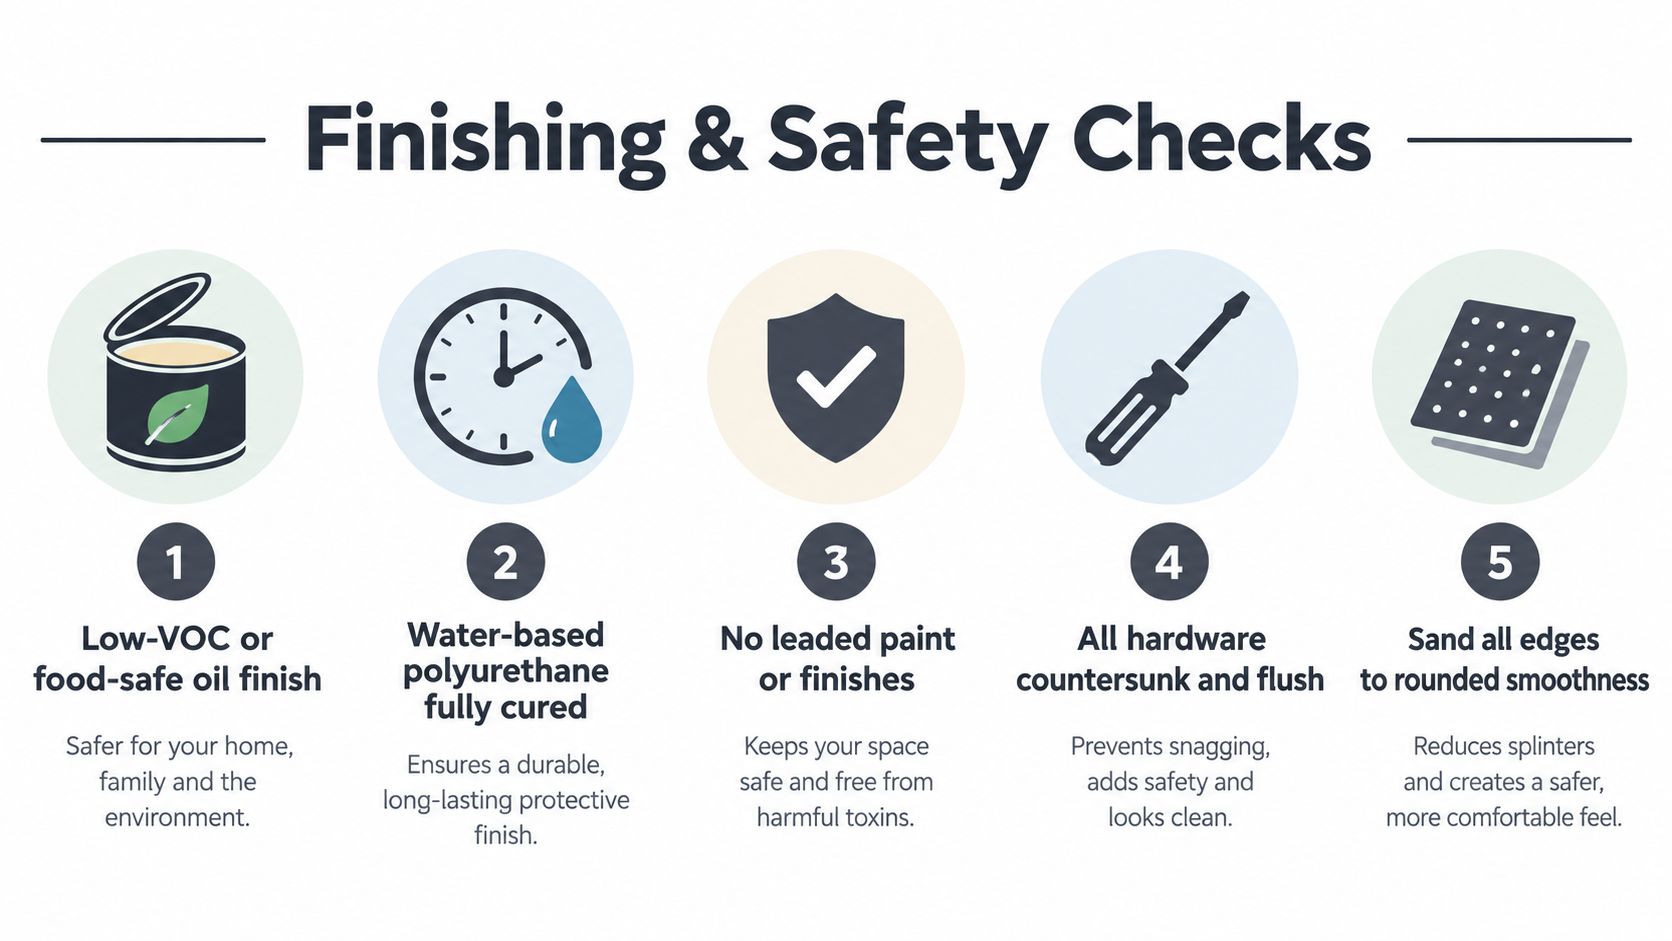
Test the structure, not just the appearance
- Fasteners: Tighten every screw, bolt, and connector after the first assembly.
- Joints: Push and rack the frame in every direction. Movement is a failure to solve, not a character trait.
- Mattress support: Confirm the support stays attached and the mattress can't migrate.
- Openings: Inspect every gap for head, neck, limb, and clothing entrapment.
- Rails: Pull and load each guardrail repeatedly before use.
For upper or bunk configurations, use the CPSC's bunk-bed guidance as a reference for wall-side gaps, openings, guardrails, ladders, fasteners, and corner projections. The rule records 57 child deaths involving entrapment, with more than 96% of victims age 3 or younger. (CPSC bunk-bed safety information)
If your design includes structural supports, it also helps to compare joist hanger options before choosing a connector. The key question is whether the joint carries load reliably in the assembled configuration, not whether the hardware looks substantial.
The Whole-Room Safety Plan Around the Bed
A floor bed lowers the fall height, but it also gives a child direct access to the room. The CPSC estimated approximately 59,500 emergency-department-treated injuries associated with nursery products among children younger than five in 2022. Falls were the leading injury mechanism, and sleep products were associated with 77% of reported fatalities. These figures concern nursery products generally, not floor beds specifically, but they're a strong reason to inspect the complete environment. (CPSC nursery-products report)
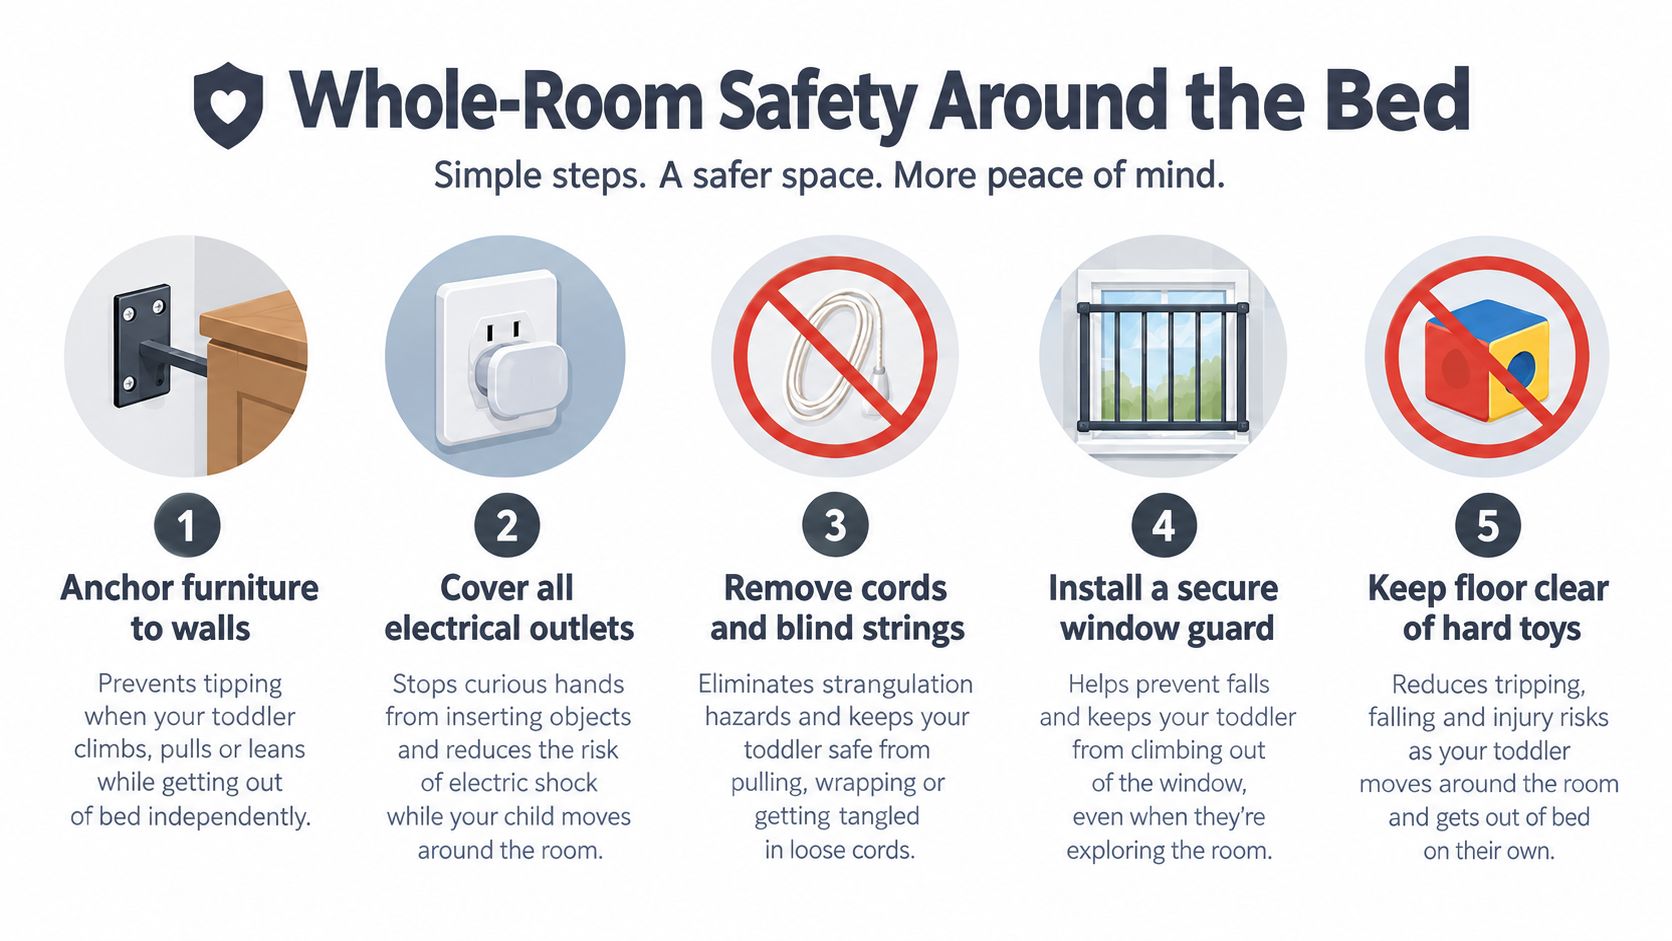
Run this checklist before the first nap:
- Anchor furniture: Secure dressers, shelves, and bookcases to the wall.
- Remove cords: Tie up blind strings, curtain cords, and electrical leads.
- Control windows: Keep the bed away from windows and use an appropriate window guard.
- Block hazards: Cover outlets, protect radiators and hot surfaces, and gate accessible stairs.
- Clear the floor: Remove hard toys and objects that become trip or impact hazards at night.
- Check the door: Don't lock a toddler's bedroom door. It can create a fire-safety problem. Use an audible monitor or another emergency-access solution.
The bed should sit away from windows, cords, hot surfaces, and pull-down hazards, with its head positioned against a wall without creating a gap. This whole-home childproofing guide is useful for checking spaces beyond the bedroom.
Cost, Time, and the Question to Ask Before You Start
The project cost depends on the mattress size, lumber grade, hardware, finish, and whether you already own the tools. Your time also has two parts: shop time for measuring, cutting, drilling, and sanding, then cure time for the finish. Don't put a child on the bed while the coating still smells strongly or feels soft.
Ask one question before turning the first screw: Is the room already toddler-ready, or am I building a low bed into an unsafe room? If the answer is the second, the anchors, cords, windows, outlets, stairs, and door policy come first.
Common troubleshooting is straightforward. If the mattress runs small, don't fill the gap with loose padding. If a slat walks, add a positive retainer rather than relying on friction. If the finish smells longer than expected, keep the bed out of service and ventilate it.
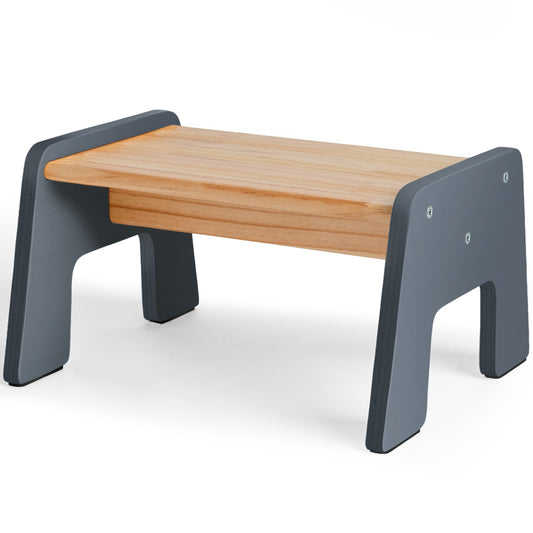
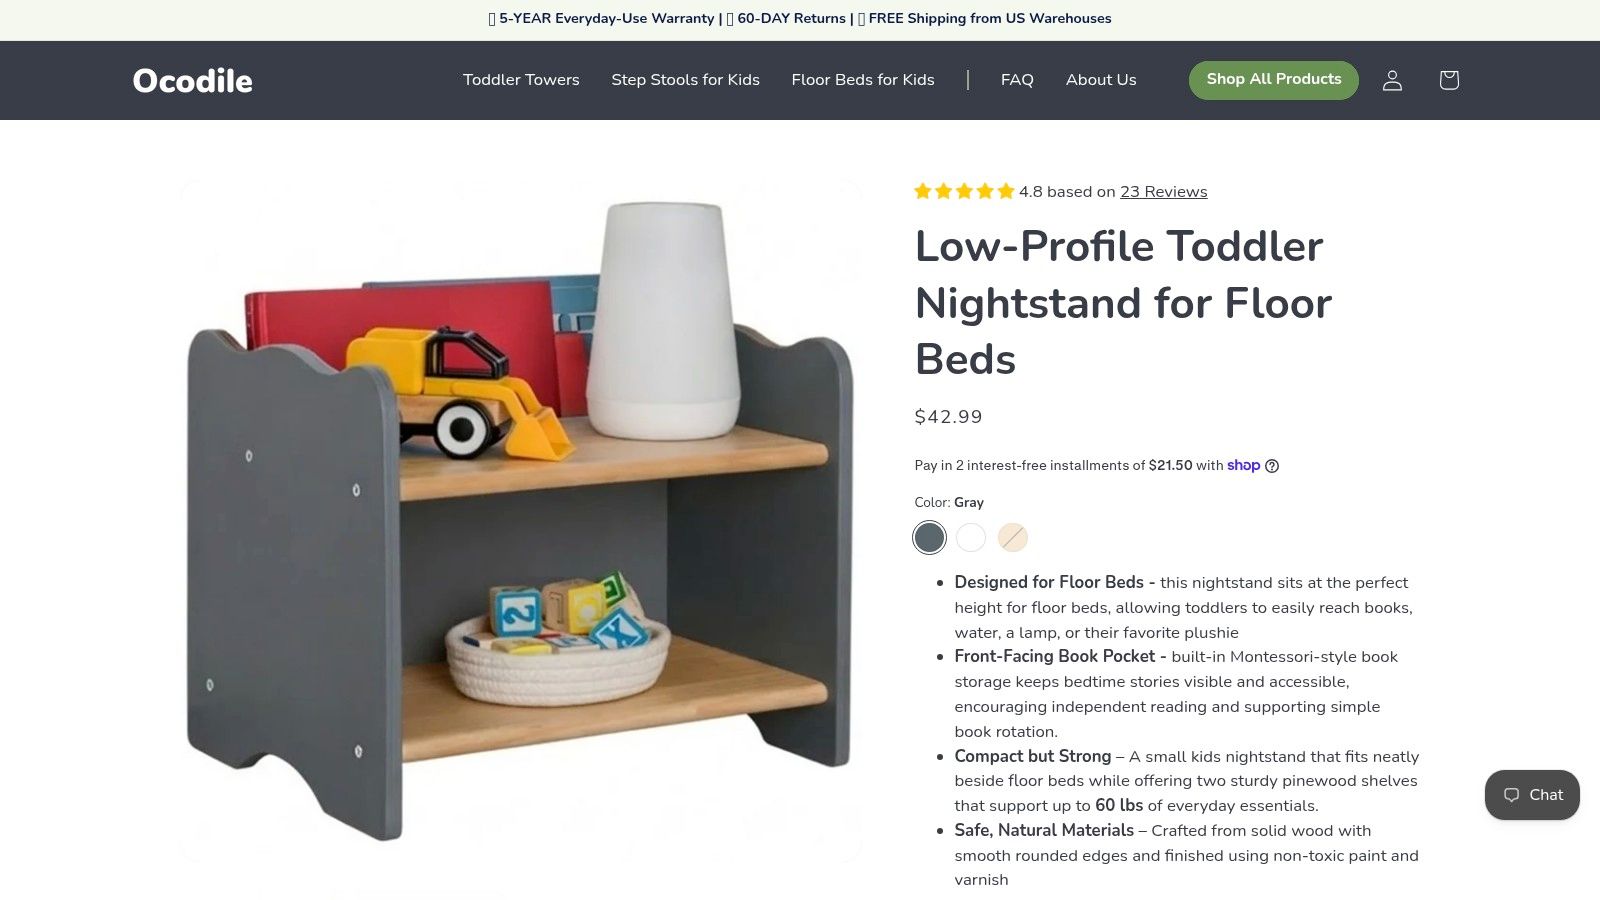
A low nightstand can hold books, water, and a lamp within reach, but it must be stable and free of cords the child can pull. The pictured option shows the kind of compact bedside storage that fits a floor-bed setup.
Children aged 1 to 2 years need 11 to 14 hours of sleep per 24 hours, including naps, according to the CDC, so plan the room for both daytime and nighttime access. (CDC sleep recommendations) For adjacent guard or support projects, deck railing systems can offer useful general hardware vocabulary, but a child's bed still requires child-specific design review.
Ocodile offers Montessori-inspired floor beds and children's furniture designed around safe access and everyday independence, including furniture that supports a prepared room rather than a frame alone. Visit Ocodile to choose the pieces that fit your child's mattress, room, and next stage.