



Dress Up Storage: A Practical Guide for Families
You know the pile. A cape on the dining chair, two plastic crowns under the sofa, a basket of tangled necklaces, and one favorite costume that keeps getting buried because nobody wants to dig. Most families don't need more “cute” storage. They need a system a three-year-old can use without an adult standing there unpacking it for them.
Dress up storage works only when it matches how kids play. Children don't browse costume collections the way adults organize closets. They grab one thing, try it on fast, drop the rest, and move on. If the setup makes that sequence harder, the system falls apart, no matter how pretty it looks on a shelf.
Why Most Dress Up Storage Fails Families
The daily failure pattern is usually predictable. A parent tidies everything into one nice bin, the child opens it once, sees a pile of mixed pieces, and never bothers again. The next morning, the cape is somewhere else, the shoes are under a bed, and the tiara is in the snack drawer because that was the last place someone set it down.
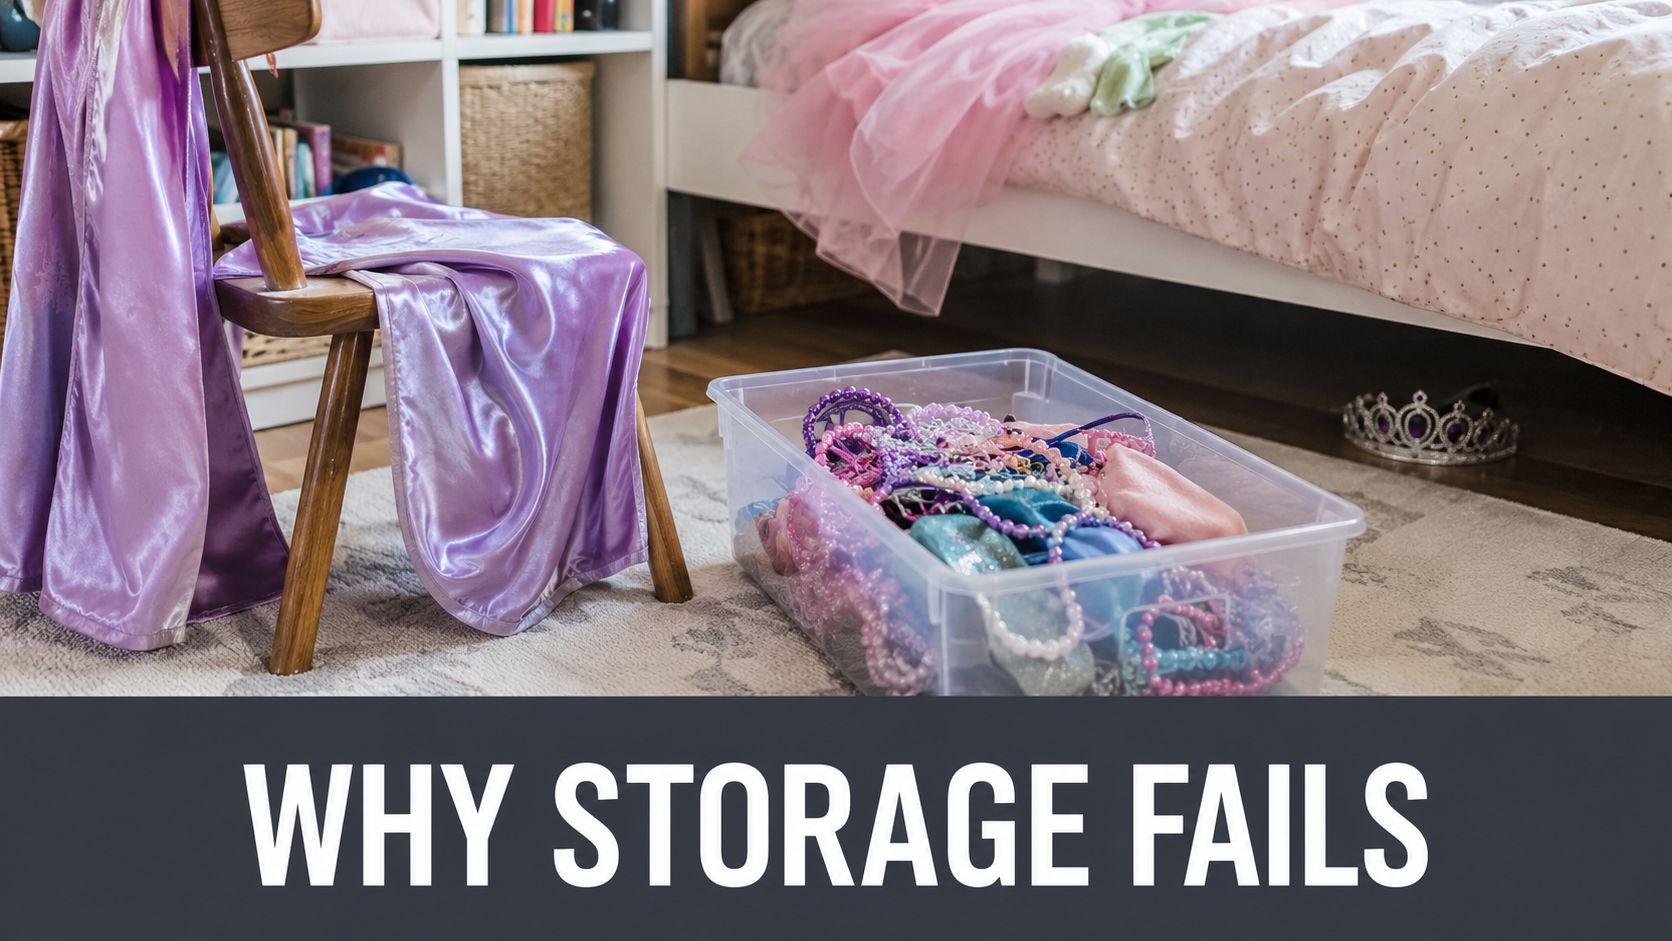
The problem usually isn't a lack of space. It's that most setups use adult logic. Adults like hidden storage, uniform bins, and closed doors. Kids need quick access, a visible inventory, and a place where the big pieces and tiny pieces don't tangle together. If you want a helpful primer on sorting clothing-related clutter before you buy anything, find organization hacks for clothes can spark a few practical ideas.
What actually breaks down
A single basket looks tidy, but it collapses the entire collection into one search task. That's fine for blankets, not fine for costumes with shoes, wings, wands, hats, and jewelry attached. The more mixed the contents, the more likely kids are to dump the whole thing and walk away.
Practical rule: if a child has to empty a container to find one item, the container is working against the play.
Three design principles make the difference. First, child-height access, so a young child can reach and return items alone. Second, visual inventory, so the child can see what exists without digging. Third, separation of garments from accessories, because a hanging cape and a necklace need different homes. That basic split is what keeps the system from becoming a pile again by Tuesday.
The best setups feel almost boring in the right way. A low hook for a costume. An open bin for crowns. A second bin for shoes or wings. Once the child can read the layout at a glance, cleanup stops being a parental rescue mission and becomes part of the game.
Assessing Your Space and Costume Collection
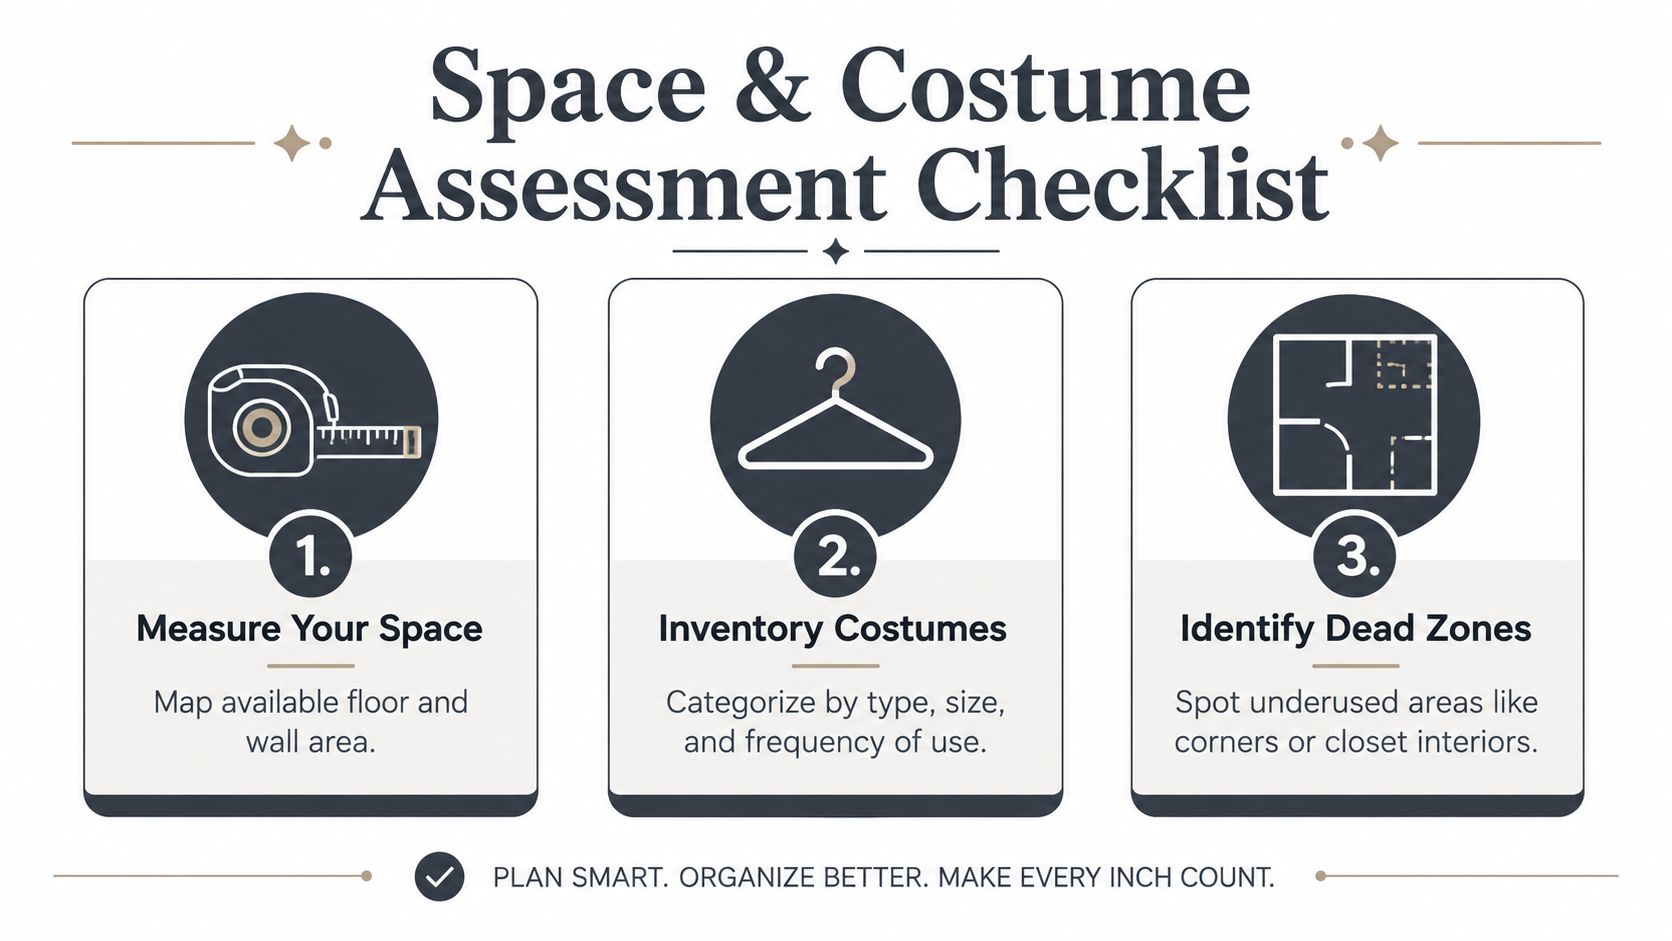
Start with the room, not the product. A closet corner that looks generous in photos may be too shallow for hanging costumes, and a wall that seems empty may already be doing important work for play traffic, toy access, or bedtime routines. Measure the exact space you can use, then decide whether the storage needs to live in a closet, along a wall, or in a freestanding spot kids naturally pass through.
Take one tape measure and one pile of costumes. Count the big hangable pieces first, then the smaller accessories, because those categories need different storage behavior. Dresses and capes want vertical space. Crowns, wands, belts, and jewelry need shallow, visible compartments. If you only count “how many costumes,” you'll underestimate the footprint.
Measure the real usable zone
Look at closet depth, floor width, and wall height, then check for anything that steals room from a child-sized setup. Baseboards, doors that swing open, and toy rugs can all change what fits. If you're considering a wall-mounted solution, find the stud locations before you fall in love with a layout that can't be anchored safely.
A storage unit that fits on paper but blocks play traffic usually gets removed within a month.
The age range matters too. For three-year-olds, reachability matters more than total capacity. That means the lowest hook or shelf should be the one that carries the items kids choose on their own, not the least-used extras. If you store the favorites too high, the child still needs you every time, which defeats the point.
Sort what you own before you buy
Make three piles. Hangable garments, accessories, and overflow. Overflow is the pile that lives elsewhere until a birthday, holiday, or growth spurt brings it into rotation. That category matters because costume collections expand quickly, and a design that is “perfect” for today often becomes cramped after the next celebration.
Once the piles are visible, you can see whether the room needs a freestanding unit, a mounted system, or a hybrid. A freestanding piece helps if the collection changes often. A mounted setup works better in a tight play area. A hybrid usually wins when you need both hanging space and small-item control in the same footprint.
For a broader look at how families organize toys and shared play items, this internal guide to toy storage organizers is a useful companion.
Choosing the Right Storage Format for Your Collection
Open garment racks look simple, but they only work if the child can reach the rod and the clothes stay neat enough to stay visible. Armoire-style cabinets hide more, which can be helpful when a room also serves as a bedroom, but they can bury accessories if the inside layout doesn't separate categories well. Cubby-and-bin systems win on quick cleanup, while wall-mounted hooks are the fastest option for grab-and-go costumes that get worn constantly.
The strongest pattern is still a hybrid. Hanging space handles dresses, capes, and full outfits. Cubbies or bins catch the smaller things that would otherwise twist into a mess. That mixed approach lines up with practical DIY guidance that recommends a rod plus shelves and bins rather than a single storage mode, because costumes rarely behave like one category.
Comparing the main formats
| Format | Best For | Typical Dimensions | Accessibility for Ages 3-6 |
|---|---|---|---|
| Open garment rack | Simple collections with mostly hangable costumes | Varies by model | Good if the rod is low enough |
| Armoire-style cabinet | Rooms that need a tidier visual finish | Examples in the market include about 15 to 16 in deep and 36 to 48 in high | Mixed, better with low shelves and easy-open doors |
| Cubby and bin system | Accessories, mixed costume pieces, fast reset routines | Varies by layout | Very good for self-service |
| Wall-mounted hooks | Small rooms, frequent-use capes, robes, and hats | Depends on wall span | Excellent when hooks sit at child height |
The format choice gets easier when you think about what the child does first. If they usually grab a cape and run, hooks make sense. If they always want a whole outfit with shoes and jewelry, bins and shelves matter more. If the room is shared and you care about visual calm, a cabinet can work, but only if the inside stays simple enough for children to use alone.
The best setup is the one a child can reset without interpreting a label every time.
A practical note on dimensions. Commercial dress-up units often cluster in a low-deep footprint, with examples around 15 to 16 inches deep and 36 to 48 inches high, because that shape stays accessible and less tip-prone. Multi-modal units also show up repeatedly, including designs with a rod, shelves, and bins, which is a strong clue about what works in real family use. If you're building or buying, that combination is the most reliable starting point.
If you need more inspiration while comparing layouts, the fabric-focused ideas in practical fabric storage ideas translate surprisingly well to costume management, especially when you're trying to keep loose pieces separated.
Building a Custom Dress Up Storage Unit
A custom unit makes sense when the room has an odd footprint or the collection doesn't fit standard furniture. Start with child-safe materials and a low, stable shape. Market examples in this category show why that matters, with units built around moderate loads, rounded edges, and safety-focused details rather than heavy cabinet construction.
Use a simple weekend build if you're comfortable with basic tools. A freestanding frame can be made from hardwood plywood or another sturdy sheet good, then broken into three zones, one hanging bay, one shelf area, and one section for bins. Keep the depth shallow enough that the child can see into the unit without leaning far inside.
A practical build sequence
- Cut the frame parts. Plan for a low, accessible footprint rather than a tall cabinet.
- Assemble the outer box. Use screws or dowels, not fragile joinery that loosens with daily pulling.
- Add the organization zones. One rod for costumes, shelves or cubbies for accessories, and open space for labeled bins.
- Finish the surfaces. Sand every exposed edge, round the corners, and anchor the unit to the wall if it can tip.
Here's the part parents often skip. Do the finish work as carefully as the cutting. Smooth edges matter because little hands reach into the same spots over and over, and unfinished corners turn into splinter risks fast.
For a more wall-focused layout, this internal reference on toy storage wall can help you think about anchoring and vertical use before you commit to a final plan.
Hardware and child access
Use non-slip velvet hangers for costumes that slide off ordinary plastic ones. Put hooks low enough for the youngest child in the room, because a three-year-old who can't rehang a cape will leave it on the floor. Keep accessory bins open, labeled, and shallow enough that the child can see the contents without dumping them.
The Wood Designs specs are a useful reminder of what safety-minded units emphasize, including rounded corners, shatter-resistant or shatter-proof acrylic mirrors, UV or scratch-resistant finishes, GREENGUARD Gold certification, locking casters, and a finger-pinch-resistant hinge design on some models (Wood Designs). Those details are less about style and more about building a unit that survives daily use in child-heavy environments.
Labeling and Rotation Systems That Reduce Clutter
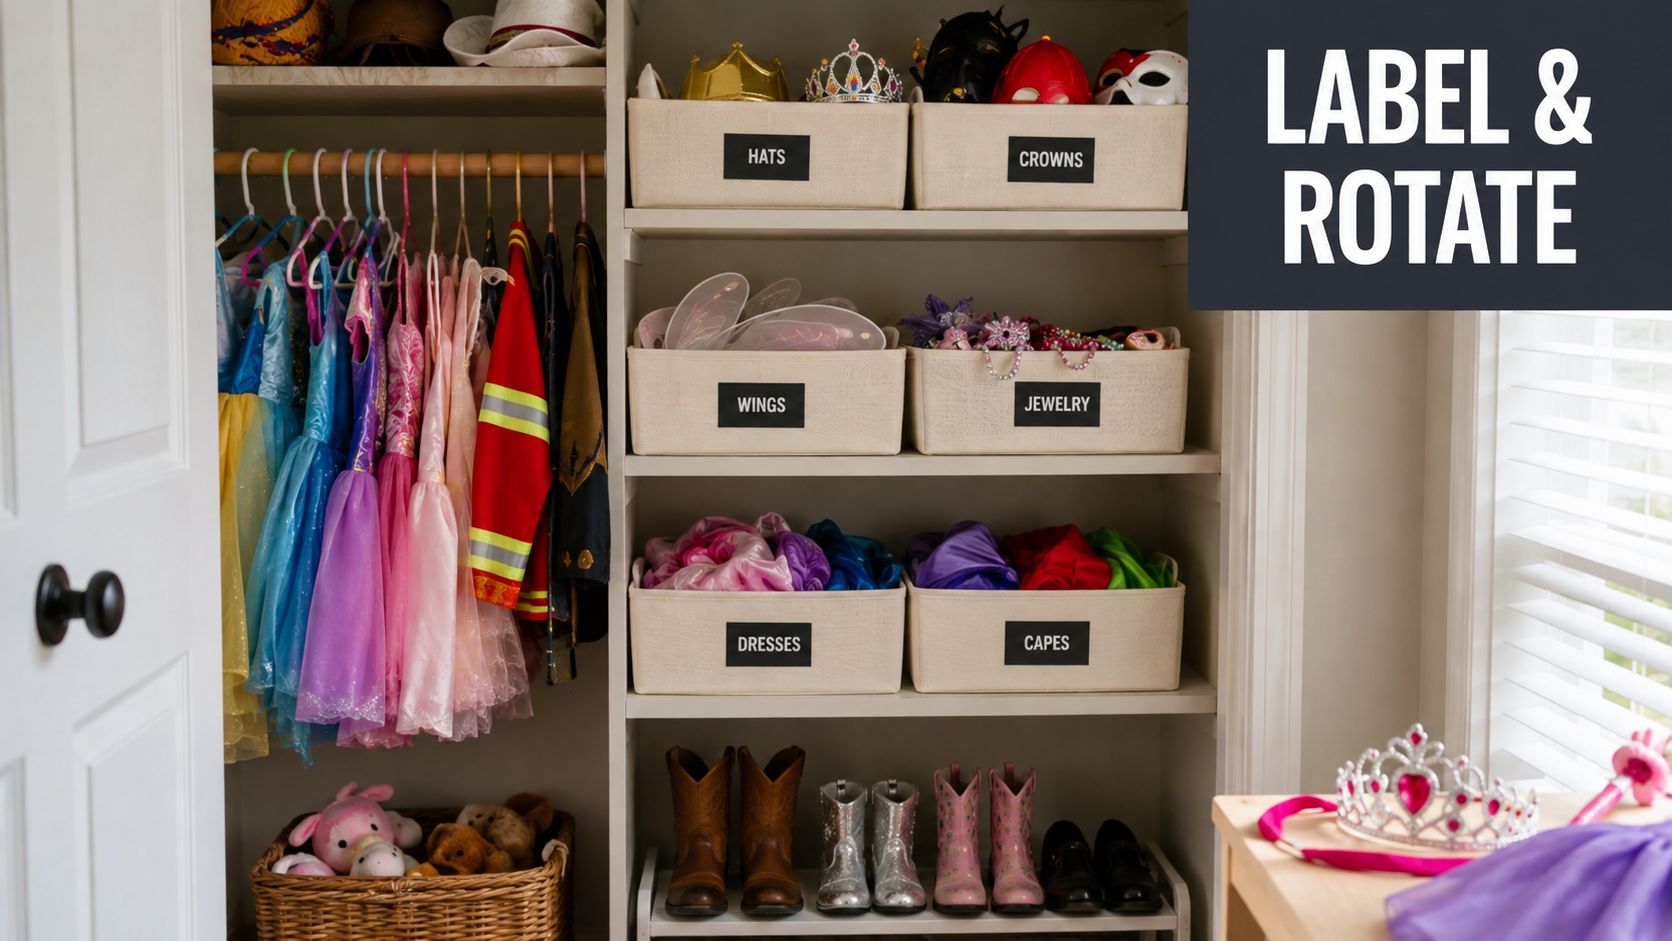
A good storage unit still turns chaotic if nobody knows where anything goes. Labels solve that, but the label type has to match the child's reading stage. Pre-readers need picture labels. Older children can handle words. Many families do best with both, especially when a sibling range shares the same area.
The win comes from combining labels with rotation. Not every costume should live in the main zone at the same time. Keep a smaller active set visible, then store overflow separately in a closet bin or under-bed container. That keeps the main area from getting visually crowded, and it also makes the favorite pieces feel fresh when you rotate them back in.
A rotation rhythm that stays manageable
Choose one reset day and keep it short. A quick weekly pass catches the obvious mess, while a deeper monthly sort is the right time to pull out damaged items, too-small pieces, and duplicate accessories. That rhythm prevents the collection from growing faster than the storage can absorb it.
Useful habit: when a child stops reaching for an item for a while, move it out of the main zone instead of forcing the system to hold everything forever.
The categories should stay simple. Crowns in one bin, wings in another, jewelry in a third, shoes in a fourth. If the bins get too specific, adults end up managing the labels more than the kids manage the play. If they're too broad, the whole thing turns into a mixed basket again.
A rotation system also gives you a place to handle outgrown or damaged pieces without drama. Keep a donation bag nearby during the monthly sort. If a costume is torn beyond repair or no longer fits, move it out right then. That keeps the “maybe later” pile from living in the room indefinitely.
Teaching Children to Manage Their Own Costumes
The goal isn't a perfect setup. The goal is a child who can put the costume back without being coached through every step. That matters because independence isn't a bonus feature here, it's the whole point. If the child can choose, return, and reset the costume area, the system starts paying you back every day.
A toddler doesn't need a complete filing system. A three-year-old can manage one cape on one low hook, one bin for accessories, and one simple cleanup cue. As children get older, they can handle sorting hats from jewelry, noticing when a piece is missing, and helping decide what gets rotated into the active set.
For a related read on nurturing self-starting habits, the ideas in encouraging independence in toddlers fit this storage work well.
Scripts that make cleanup stick
Use short, repeatable language. “Cape goes on the hook.” “Crowns live in this bin.” “Pick one thing, then put one thing back.” Children learn storage faster when the words stay the same.
If a child can repeat the rule, they can usually follow the rule.
Resistance is normal when the new system feels different from the old dumping ground. Don't negotiate the whole room at cleanup time. Keep the standard small and consistent. One item returned before the next item comes out is easier to teach than a giant end-of-day reset.
As children age, shift responsibility in layers. First they help. Then they sort. Then they notice missing pieces. Eventually, they can decide which costumes stay active and which move into overflow. That progression keeps the storage system tied to real independence instead of adult-led tidying theater.
If you want a children's storage setup that supports independence, Ocodile builds furniture with that same practical, child-first mindset. Visit Ocodile to find pieces that help young children reach, choose, and put things away safely in everyday play spaces.