



Your Balance Beam Outdoor Guide: Safe Play for Kids
Your child sprints into the yard, climbs the nearest thing they can find, then looks back at you with that familiar face that says, “Can I try something harder?” Most parents know that moment. You want to say yes to movement, challenge, and fresh air. You also want to know that what you're setting up is safe.
A balance beam outdoor setup can meet both needs when you choose it carefully. It isn't just a piece of play equipment. It's a simple way to help a child slow their body down, place one foot with intention, notice where their weight shifts, and keep trying after a wobble.
That's one reason balance beams fit so naturally into a Montessori-minded home. The activity is clear. The child can repeat it independently. The challenge grows with practice. And outdoors, it adds another layer that many indoor guides miss. Sun, rain, damp ground, and heat all change how the beam feels under little feet.
That last part matters more than most parents realize. A surface that felt smooth in spring can feel rough, slick, or hardened later on. If your child likes to explore with bare feet for grip and sensory input, material choice and maintenance become just as important as the beam itself.
From Backyard Dashes to Balanced Steps
Some of the best outdoor play starts with a very ordinary scene. A child runs laps around the garden, jumps off a low step, tries to walk along the edge of a planter, and turns every border or curb into a challenge. They're not being reckless. They're practicing.
A balance beam gives that instinct a safer home. Instead of searching for narrow edges in random places, your child gets one clear place to test balance, body control, and focus. That simplicity is part of the appeal. One beam can support quiet concentration one day and imaginative play the next.
In early childhood, balance work supports much more than gross motor skill. Children learn where their bodies are in space. They discover how to recover from a wobble. They begin to judge risk in small, manageable ways. When they choose to step on, step off, try again, or pause, they're building confidence through action.
A good beam doesn't entertain a child for them. It invites the child to do the work of noticing, adjusting, and mastering.
That's very close to the Montessori spirit. The adult prepares the environment. The child does the learning.
What parents often notice first
- More focus: A child who rushes everywhere often slows down on a beam and pays attention to each step.
- Growing confidence: The first success may be just standing still. Later it becomes walking across without help.
- Problem solving in real time: Children test where to put their feet, how wide to hold their arms, and when to start over.
A balance beam outdoor area can be wonderfully simple. It doesn't need to look like a commercial playground. It just needs to feel stable, inviting, and well cared for.
Choosing Your Perfect Outdoor Balance Beam
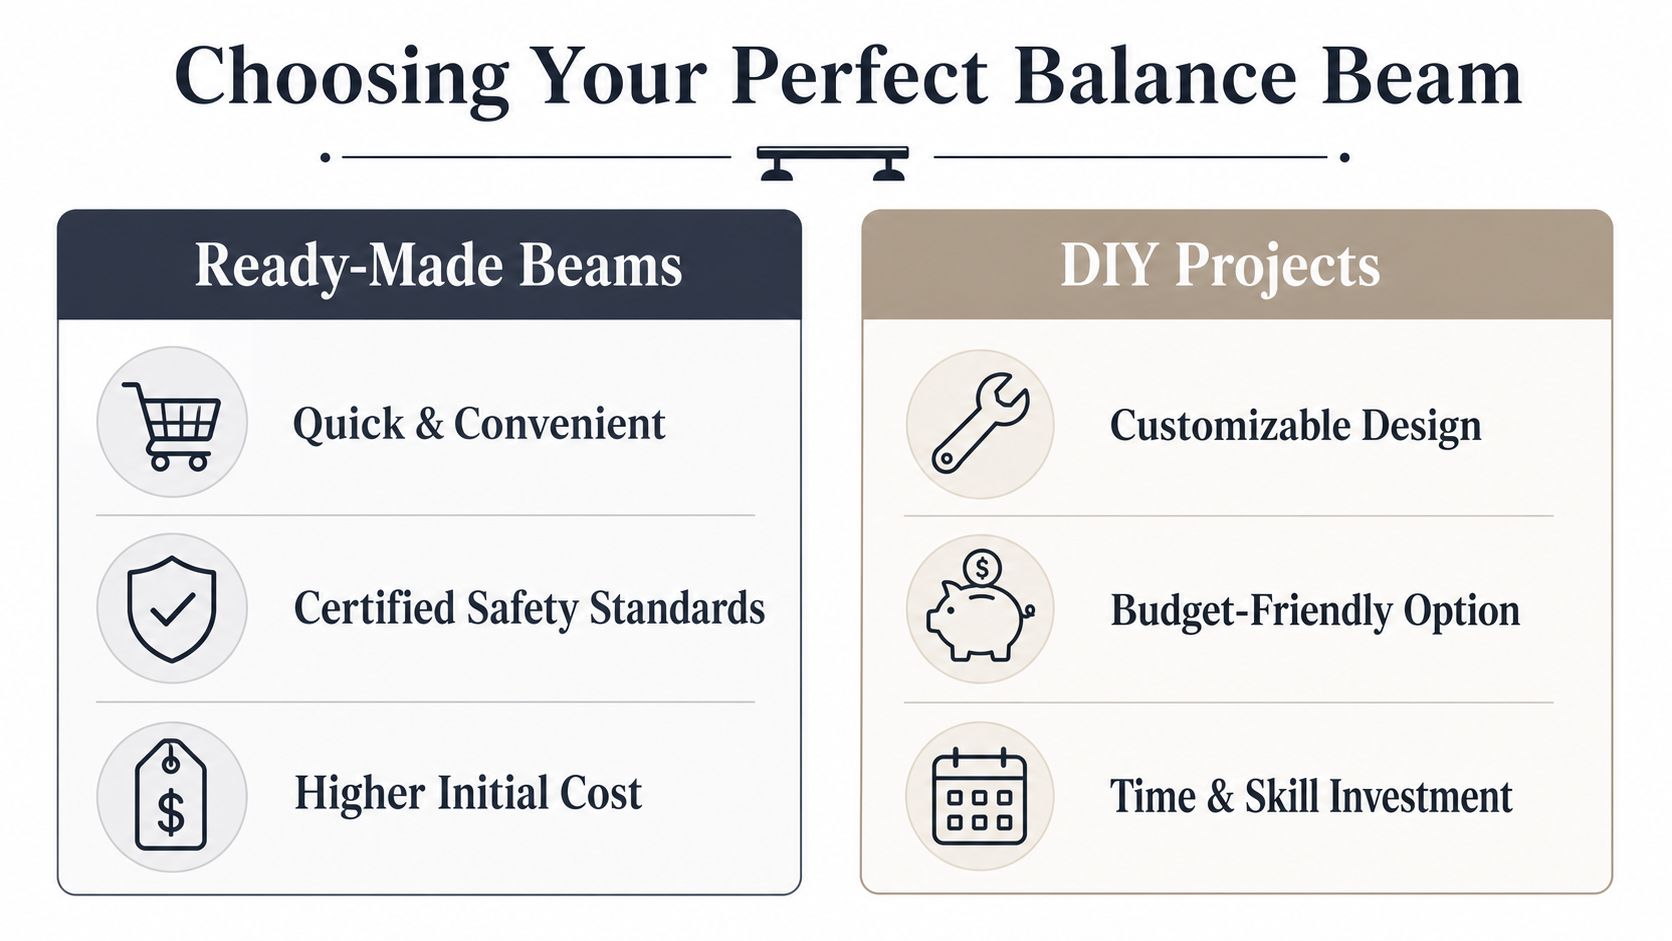
Parents usually start with one practical question. Should you buy a beam or make one yourself? Both options can work. The better choice depends on your time, comfort with tools, and how confident you feel checking for outdoor wear over time.
Buy or build
A ready-made beam saves time. It can also give some parents peace of mind because the shape, finish, and intended use are already thought through. If you'd like to see an example of a purpose-built outdoor play balance beam, it helps to compare what a designed product offers versus a homemade setup.
DIY can be a lovely option if you enjoy building and want something custom for your yard. You might prefer a certain height, length, or arrangement. But outdoor use changes the job. It's not enough for the beam to look sturdy on day one. You also need to think about how the surface will feel after sun exposure, wet weather, and repeated barefoot use.
| Factor | Buying a Beam | DIYing a Beam |
|---|---|---|
| Time | Faster to set up | Takes planning, tools, and finishing work |
| Customization | Limited to available designs | Easier to tailor to your space and child |
| Surface finish | Often more consistent from the start | Depends on your sanding, sealing, and maintenance |
| Outdoor durability | Varies by product and material | Depends on material choice and how well it's protected |
| Confidence level | Helpful if you want a straightforward solution | Better if you're comfortable inspecting and maintaining it |
Material matters under little feet
Many buying guides stop at “wood or plastic.” For outdoor use, that's not enough. What matters most is how the beam feels after weeks and months outside.
Wood
Wood can feel warm, natural, and pleasant under bare feet. Many families like that sensory quality. It also fits beautifully into a natural yard or Montessori-inspired play space.
But wood needs attention. Outdoors, the same grain that feels lovely at first can become rough. Moisture can raise fibers. Damp conditions can encourage slippery buildup. If the finish wears down, the surface can stop feeling child-friendly very quickly.
If you're considering timber, this guide to a wooden balance beam for children can help you think through shape and finish in a more child-focused way.
Composite
Composite materials can be a middle ground. They often hold their shape well and may avoid some of the splinter concerns families worry about with wood. The tradeoff is feel. Some composite surfaces can get hotter in direct sun or feel firmer and less natural underfoot.
That doesn't make composite a poor choice. It means you need to test it in your real yard, at the times of day your child plays.
Plastic
Plastic beams are often easy to clean and simple to move. For young children, that can be appealing. But not all plastics age gracefully outdoors. A beam that starts smooth can become brittle, faded, or harder to the touch after long exposure to weather.
The sensory test that matters most
Before choosing any material, ask yourself four simple questions:
- How does it feel dry? Smooth should feel smooth, not slick.
- How does it feel damp? Morning dew and shaded areas change traction.
- How hot does it get? Sun-exposed surfaces can become uncomfortable for bare feet.
- How does it age? Look past the first week. Outdoor materials always change.
Practical rule: If you wouldn't want to press your own bare foot onto the surface after rain, heat, or a week of outdoor exposure, it's probably not the right finish for a young child.
For many families, the best balance beam outdoor choice isn't the fanciest one. It's the beam you can inspect easily, maintain consistently, and trust your child to explore with confidence.
Creating a Safe Foundation for Play
A child can have a sturdy beam under their feet and still be put off by what surrounds it. If the ground is uneven, the landing area is cluttered, or the surface below turns muddy and slick after rain, the whole experience changes. For young children, the setup around the beam shapes confidence as much as the beam itself.
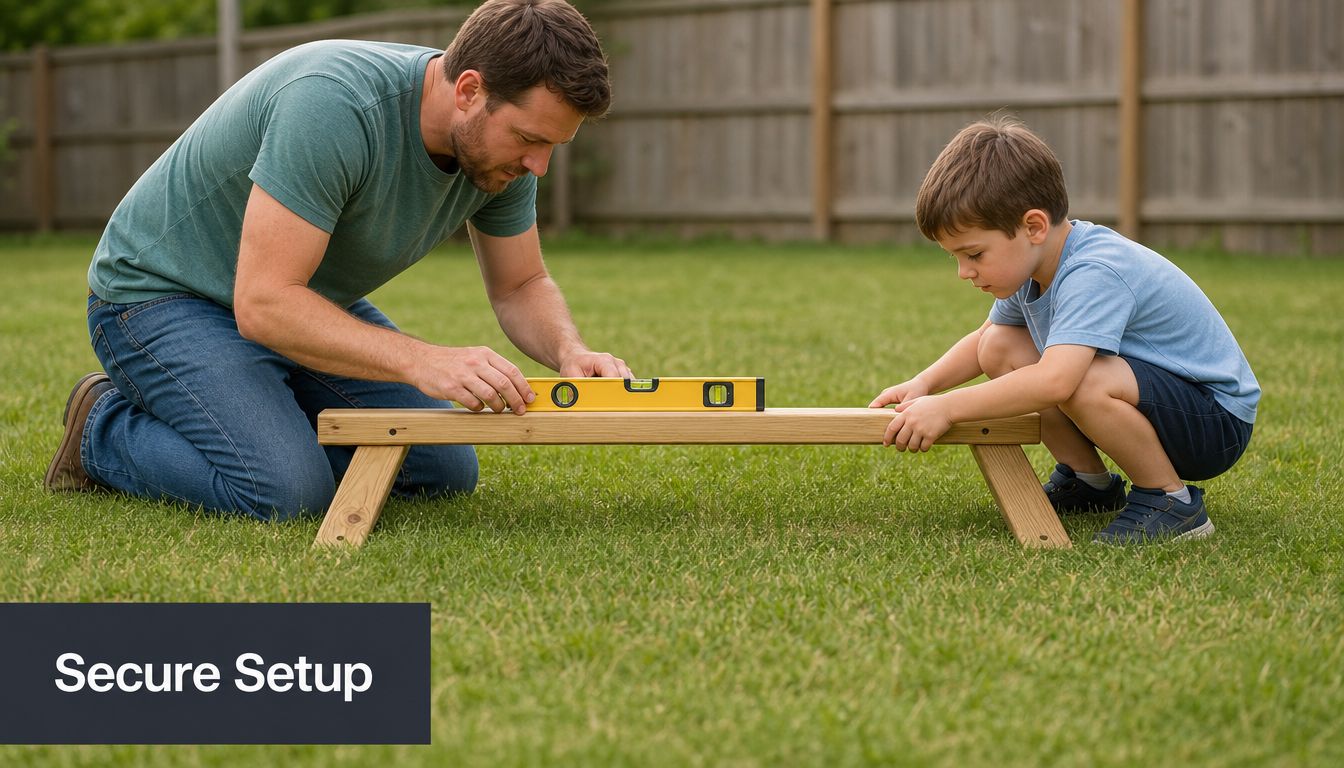
At home, a safe foundation starts with space. Children rarely step straight up, walk neatly across, and step straight down. They hop off the side, wobble, turn around, and test limits. That means the area around the beam needs to support real play, not just ideal play.
Clear space matters more than parents expect
Leave open room on every side of the beam so a child has a forgiving place to step, hop, or lose balance. Fences, raised bed borders, rocks, pots, bikes, and stored garden tools all shrink that safety margin. What looks harmless to an adult can feel very close to a child who is concentrating hard on where their feet go.
A useful parent check is simple. Stand at one end of the beam, then walk all the way around it as if you were the child stepping off in any direction. If something would worry you during a small sideways fall, move it.
The ground under the beam does part of the teaching
The best surface under and around a balance beam is not just soft. It should also stay predictable through weather. That point gets missed in many guides.
Grass can look gentle, but worn spots become packed and slippery. Bare soil feels fine in dry weather, then turns slick after rain. Gravel can shift under little feet and may be unpleasant for barefoot use. Since many Montessori-style outdoor activities invite children to use their bare feet to build body awareness, tactile safety matters over time, not only on installation day.
If you are building a wider play space, these family friendly landscaping ideas can help you place the beam within a yard that stays usable and calmer for everyday play.
Choose a surface your child can trust
A good landing area works like a reliable handshake. It should feel familiar each time your child steps down.
Look for ground that is:
- Even: no hidden dips, roots, or sudden edges
- Stable: it should not slide or roll underfoot
- Comfortable for bare feet: no sharp mulch, hot pavers, or rough patches
- Consistent after weather changes: morning dew, summer heat, and light rain should not create surprises
If your child enjoys varied footwork, a nearby Montessori stepping stone path for balance and sensory play can extend the activity without crowding the beam itself.
A better setup check before the first use
Before your child climbs on, test the area the way an educator would observe a classroom material. We do not only ask, "Is it there?" We ask, "Will it stay safe after repeated use?"
- Crouch down to child height. Small hazards show up quickly from that angle.
- Press on the beam from different sides. It should stay steady without rocking.
- Step off barefoot if that is how your child will play. Check for heat, sharpness, slick spots, and rough texture.
- Look at shaded and sunny areas separately. Outdoor surfaces age and behave differently across the same yard.
- Check again after weather changes. Rain, dew, and strong sun can all change traction.
Low, simple, and predictable is a strong starting point. A plain setup often supports deeper concentration because the child can focus on balance instead of bracing for discomfort.
Inspiring Adventures on the Beam
A child steps onto the beam, pauses, then decides today is not a “walk across” day. They crouch, pat the surface with both hands, and test it with one bare foot before taking a single careful step. That moment matters. Outdoor beam play is not only about balance. It is also about trust in the material under the body.
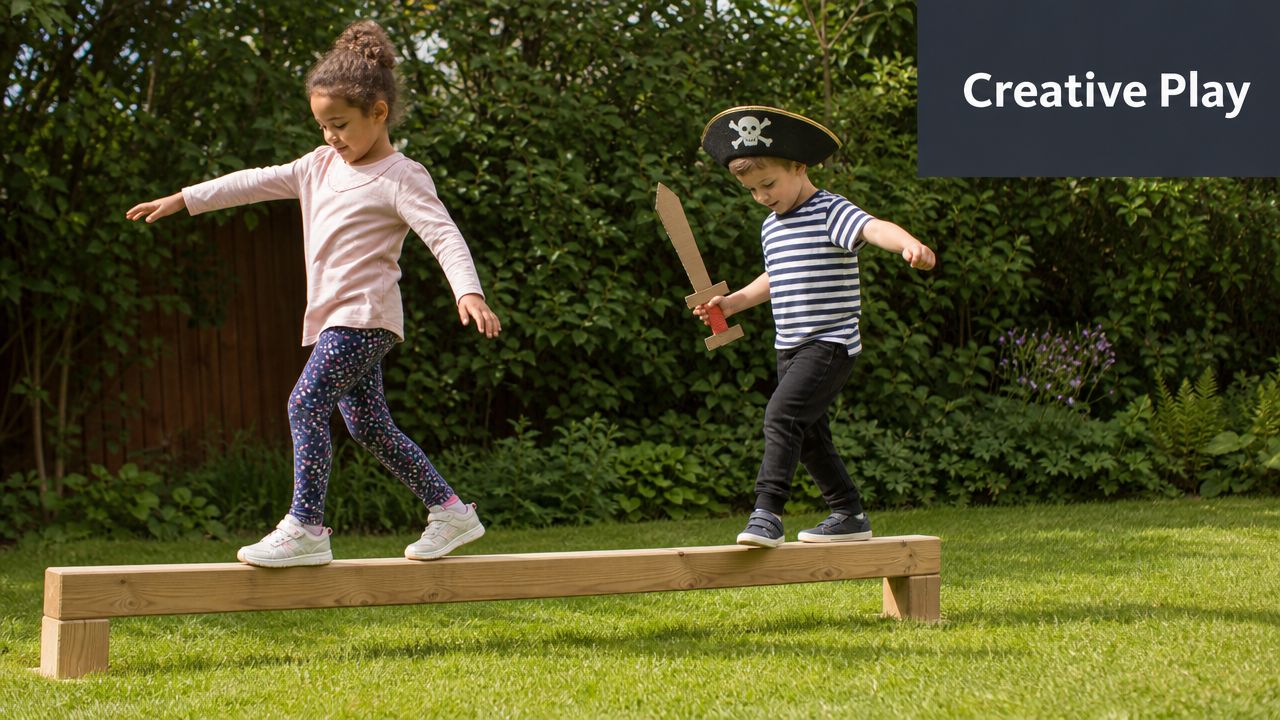
Children rarely begin with the skill an adult pictured. They begin with investigation. In Montessori spaces, we often see this first as sensory study. A child notices temperature, texture, grip, and height before they commit to movement. Outdoors, that first study becomes even more important because sun, dew, dirt, and age can change how a beam feels from one day to the next.
A good invitation to play gives a clear starting point and leaves room for the child to repeat, adjust, and master. Repetition is not “doing the same thing again.” It works like laying down a walking path in the brain. Each pass makes the route more familiar.
Simple starts for younger children
A toddler or younger preschooler may only want one small challenge at a time. That is a strong beginning.
Try invitations like these:
- Sit and scoot: Let your child move along while feeling the surface with their legs and hands.
- Step on, step off: Practice getting onto the beam and back to the ground with control.
- Crawl across: Hands and knees lower the demand and build body awareness.
- Stand and freeze: Pause for one breath, then step down.
- Tap test: Invite your child to touch the beam with bare feet first and tell you whether it feels smooth, warm, rough, or slippery.
That last idea is especially useful outdoors. A beam that felt comfortable last week may feel hot, gritty, or slightly splintered today. Children who play barefoot often notice these changes before adults do.
Growing the challenge naturally
As noted earlier, children do best with a gradual progression. Start with the easiest version your child can complete calmly, then add only one new demand at a time. Height, speed, and props do not all need to increase together.
In practice, that can look like this:
- Walk with arms stretched out
- Place feet more carefully, one after the other
- Pause halfway and regain balance
- Carry a soft object such as a beanbag or leaf
- Walk sideways or backward for a short section
If a child begins to rush, wobble, or jump off wildly, the challenge is probably a little too high for that moment. Lowering the demand is not a setback. It helps the child return to coordinated, purposeful movement.
Turning practice into play
Stories help many children stay with balancing longer because the body has a job to do. The beam becomes a place with meaning, not just a piece of equipment.
- Bridge crossing: Bring food to the other side of the river
- Animal path: Step like a fox, bear, or flamingo
- Mountain trail: Pause on the “ridge” and look for birds
- Treasure trip: Carry a small object carefully from one end to the other
You can also extend the experience with a short Montessori stepping stone path for outdoor balance play. That pairing gives children a chance to shift between narrow, steady footing and wider, varied steps without crowding the beam itself.
Follow the child's idea when you can. If the beam is a train track today and a forest log tomorrow, the learning is still there. Balance, motor planning, concentration, and sensory judgment all grow through that kind of play.
The richest beam adventures often look simple from the outside. A child touches, tests, repeats, adjusts, and finally moves with confidence. That is real progress.
A Parent's Guide to Everyday Safety
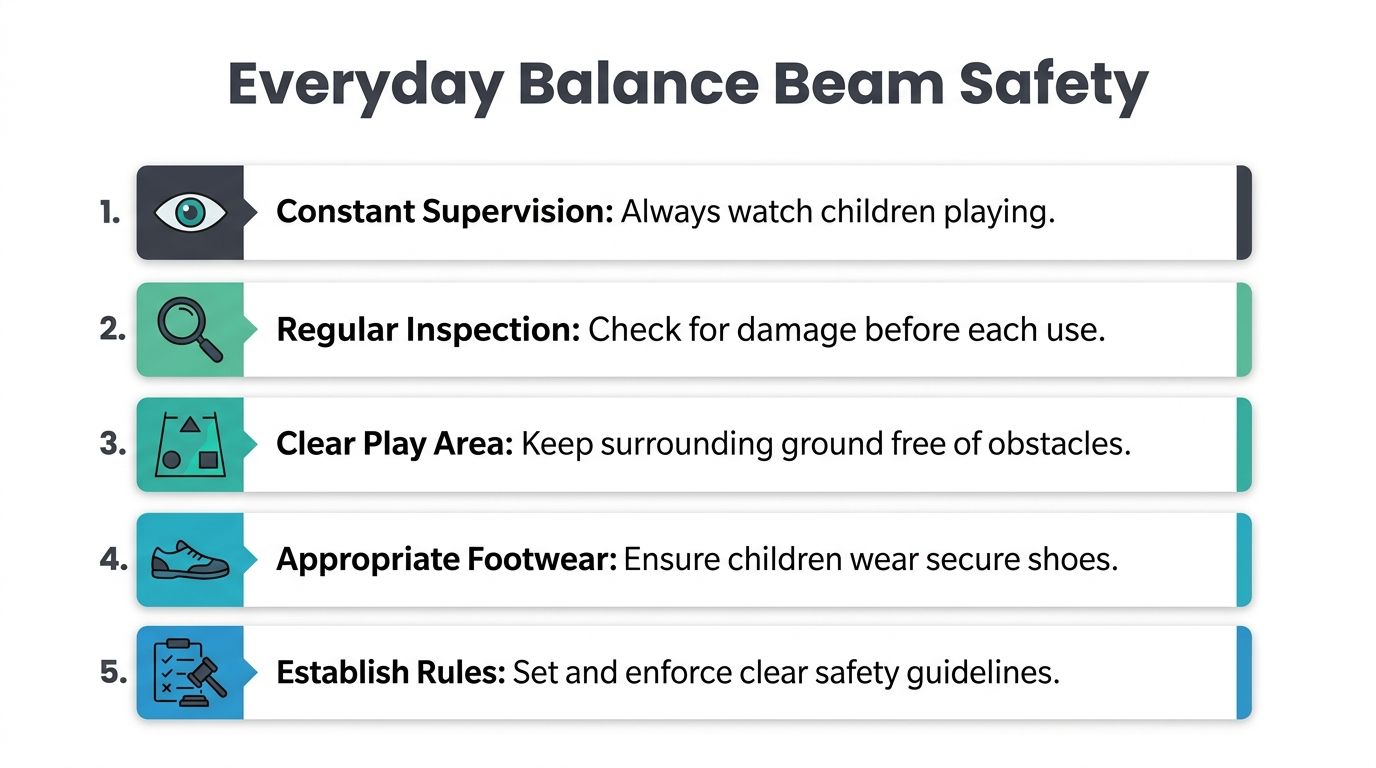
A safe setup is only the beginning. Everyday habits are what keep a balance beam outdoor routine calm, predictable, and enjoyable for children.
The daily checklist that helps most
- Watch closely: Younger children need active supervision, especially when they're experimenting with a new way to move.
- Check before play: Run your hand across the surface and look at the ground around it.
- Keep turns simple: One child on the beam at a time avoids crowding and impulsive bumping.
- Match the day: If the beam is wet, very hot, or grimy, pause and reset rather than pushing ahead.
- Let challenge be a choice: Encourage effort, but don't pressure a child to try a harder version before they're ready.
Bare feet or shoes
Parents often ask which is better. The answer depends on the condition of the beam that day.
Bare feet can offer strong sensory feedback and grip when the surface is clean, smooth, and dry. Shoes can help when the material feels questionable, the weather is cooler, or your child is using a rougher beam. What matters is making the decision based on inspection, not habit.
For children who also enjoy wobble and core work indoors, a balance board for kids can offer a different type of practice on a more controlled surface.
Everyday reminder: A child doesn't need to “be brave” by doing the hardest version. Real confidence grows when they feel free to stop, retry, and succeed at their own pace.
When families treat safety rules as part of the routine, children usually accept them quickly. The beam stays fun because the limits are clear.
Keeping Your Beam Ready for Action
A beam can look fine on Monday and feel very different by Friday after sun, rain, and muddy shoes. For outdoor play, maintenance is not just about appearance. It is about what your child's foot meets.
That matters even more if your child sometimes uses the beam barefoot. In Montessori-style movement work, the feet do some of the learning. They notice temperature, texture, and grip the way hands notice the edge of a puzzle piece. A surface that once felt smooth can slowly become scratchy, slick, or too hot, and children often discover that change before adults see it.
Occupational therapists often note that varied textures can support sensory development. Outdoors, though, those textures need regular care. Weather can turn a helpful sensory surface into one that distracts from balance practice or irritates bare feet.
What to check through the year
For wooden beams
Wood changes the most with weather. Check for raised grain, tiny splinters, soft spots, and slippery buildup in shaded areas. If the beam no longer feels smooth under your palm, it may need sanding and a child-safe outdoor finish before more play.
For plastic and composite beams
These materials usually resist moisture better, but sun creates its own problems. Look for cracks, rough seams, fading, hard spots, or surfaces that have become hotter and less comfortable to stand on. From a distance, plastic can look tidy while still feeling harsh under bare feet.
A simple maintenance rhythm
Use a routine that is easy to remember.
- Before regular play: Brush off dirt, leaves, and grit. Then feel the full length of the beam with your hand.
- After rain or heavy shade: Check for slippery film, damp patches, or debris that changes traction.
- At each season change: Test stability, inspect any finish, and notice whether the surface feels different from a month ago.
- Any time your child hesitates unexpectedly: Pause and inspect. Children often sense a change in texture or temperature before we do.
The barefoot test
Your hand gives useful information, but your foot tells you more. If barefoot play is part of your routine, place your own bare foot on the beam for a moment and shift your weight gently.
Notice four things. Is it too hot? Is it slick? Is it rough? Does it feel clean enough that you would comfortably let your child step on it?
That quick check works like testing bath water before a child gets in. It takes a few seconds, and it helps you catch the problems that matter most for outdoor sensory play over time. When the beam stays pleasant to touch, it stays inviting to practice on.
Frequently Asked Questions
What age can a child start using an outdoor balance beam?
Many children can begin exploring a very low beam when they're still in the early years, but readiness matters more than age alone. Start with stepping on and off, sitting, or crawling. For preschoolers, lower setups are especially important, and earlier guidance in this article noted the recommendation to begin under 12 inches for ages 3 to 5 with close supervision.
Can I use a regular wooden plank from the hardware store?
Sometimes parents do, but it's not automatically a good outdoor child-play surface. A plain plank may have rough grain, corners that need finishing, or a surface that changes quickly in weather. If you go this route, inspect the wood carefully, smooth it thoroughly, and keep checking how it feels underfoot over time.
Should my child use the beam with bare feet?
Bare feet can support grip and sensory feedback when the surface is smooth, clean, and dry. But barefoot use only makes sense when you've inspected the beam first. If the surface is rough, hot, damp, or questionable, shoes are the better choice that day.
How do I adapt one beam for children with different abilities?
Change the task before you change the equipment. One child may walk heel to toe. Another may step on and off from the side. Another may carry a soft toy across. The same beam can support many levels when you remove pressure and allow different ways to participate.
My child is nervous. Should I encourage them to keep going?
Encourage, yes. Push, no. Stay close, offer a hand if needed, and celebrate tiny steps. A child who chooses to try again tomorrow is often learning more than a child who was rushed across today.
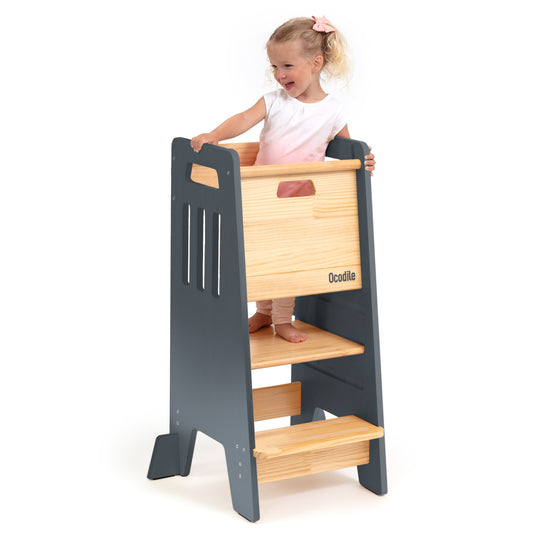
If you're building a home that supports safe independence, Ocodile is worth exploring. Their child-focused approach to practical furniture and everyday family use fits beautifully with the kind of thoughtful, safety-aware environment that helps children move, play, and grow with confidence.