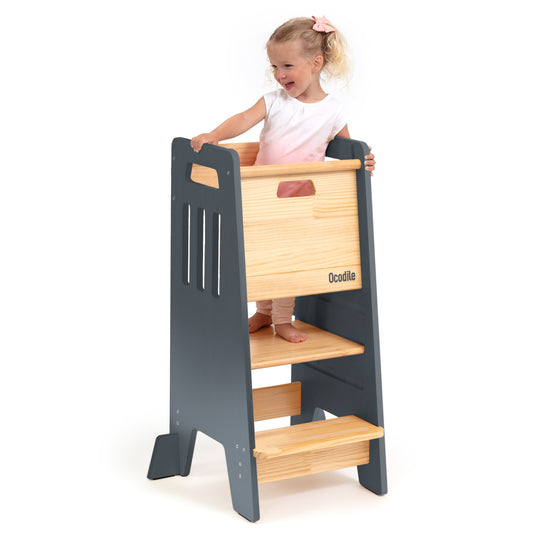


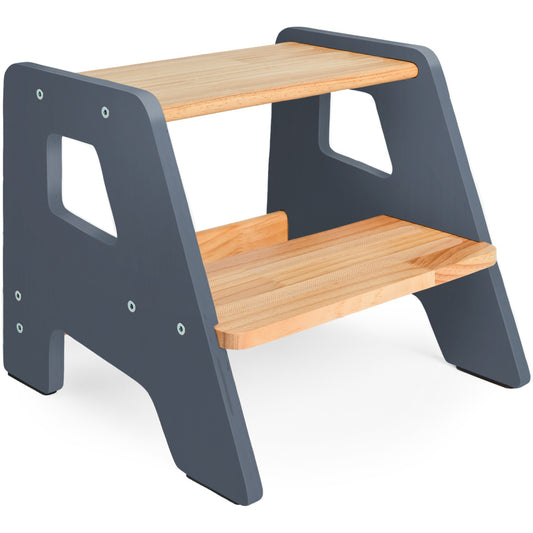


Furniture Assembly Instructions for Safe Kids Rooms
You've opened the carton, your child is watching from the kitchen, and the first panel looks nothing like the diagram. That moment can feel stressful, but furniture assembly instructions become much easier when you treat the job as a child-safety check with a build attached, not as a race to tighten hardware. A stable tower, stool, or floor bed starts with preparation, careful orientation, and a final inspection before your child uses it.
Table of Contents
- Setting Up the Space Before You Open the Box
- Tools and Parts You Should Expect in the Box
- Assembling Towers, Stools, and Floor Beds Step by Step
- Child-Safety Checks Every Parent Should Run
- When the Instructions Do Not Match the Furniture
- Care, Storage, and Long-Term Use
Setting Up the Space Before You Open the Box
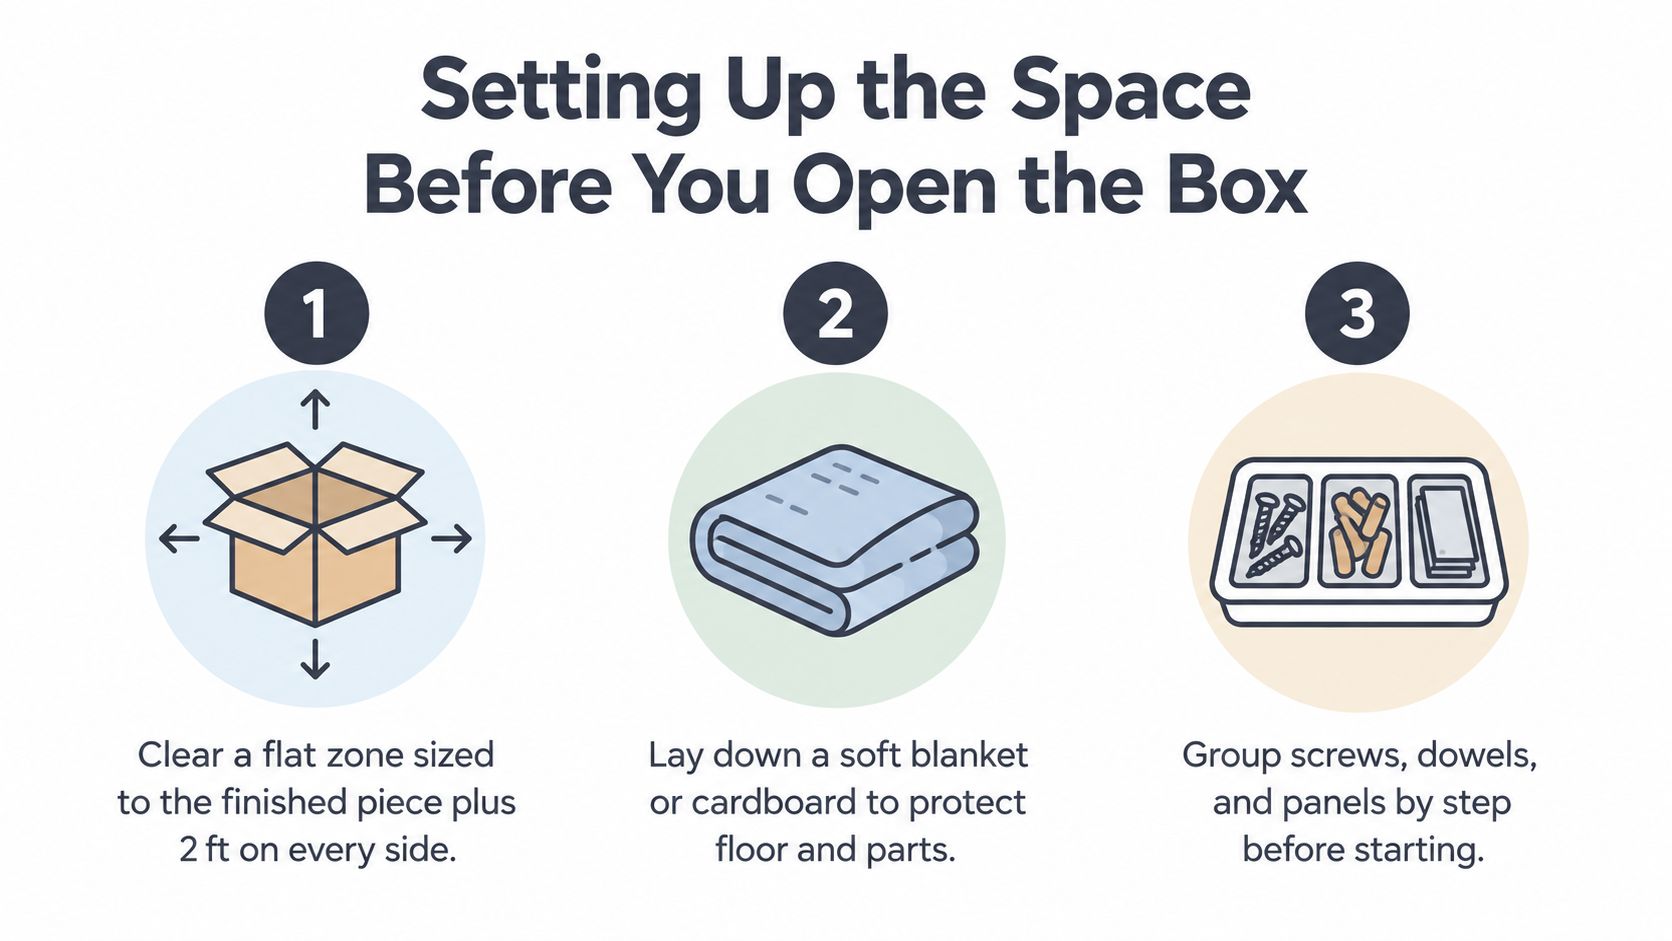
Start before you remove the first panel. Clear a flat assembly zone roughly the size of the finished piece, plus two feet on every side. This gives you room to turn panels without leaning them against a wall, and it reduces the chance that a child, pet, or passing foot will disturb a partly built frame.
Cover the floor with a folded blanket or flattened cardboard. The soft layer protects the finish from scratches and gives small dowels and fasteners somewhere safer to land. Keep nearby stairs, radiators, and windows in mind too. A finished learning tower or stool shouldn't stand where a climbing child could reach a hot surface, a sill, or a drop.
Decide where the furniture will live before assembly begins. You won't want to drag a completed tower across a threshold, lift a floor bed around furniture, or twist a frame through a narrow doorway. For larger cartons, have two adults available for lifting and turning.
Make the parts easy to control
Keep every small hardware bag sealed until you're ready to count it. Washers, screws, and dowels disappear quickly around toddlers. Photograph the box labels and the included parts list before opening the carton. If something is missing or damaged, those photos will make a support request much clearer.
Set out a Phillips screwdriver, rubber mallet, 4 mm hex key, level, tape measure, and phone flashlight. The flashlight helps you inspect pre-drilled holes for dust, paint, or an obstruction before you apply pressure. Don't substitute force for visibility. If a screw won't start by hand, stop and check the orientation.
Assembly documentation has become part of product quality and risk control. A furniture-supplier quality manual requires instructions to identify components and quantities, screw and bolt sizes, approximate assembly time, warnings, load limits, required people, page numbers, and tool guidance. It also favors pictograms for language accessibility and treats missing instructions as a critical defect. The documented requirements for modern furniture assembly instructions explain why the manual deserves the same attention as the panels.
Tools and Parts You Should Expect in the Box
A predictable kit makes a first assembly calmer. Expect a printed step-by-step manual, a hardware pouch with wood screws, barrel nuts, cam locks, dowels, corner brackets, anti-tip wall straps, and felt pads, plus a small bottle of wood-safe thread locker for joints that may loosen with use.
Wooden panels should be wrapped individually and labeled with letters that match the diagrams. Pre-drilled holes are color-coded for beginner-friendly orientation. Lay the panels on the floor in the order you'll use them, then match every hardware bag to the parts list before turning a screw.
Count screws by type rather than trusting the bag. Separate long and short screws, place washers beside their matching fasteners, and keep dowels away from cam locks. If a panel is scratched, cracked, or visibly different from the diagram, photograph it and contact support before assembly starts. A replacement is easier to arrange while all packaging and labels are still available.
The recommended toolkit includes a Phillips head screwdriver, 4 mm and 5 mm hex keys, rubber mallet, level, and soft cloth. Use the cloth to remove manufacturing dust from holes and joining surfaces. A rubber mallet is for gentle seating only. It isn't a tool for correcting a panel that has been forced into the wrong position.
| Hardware | Typical Use | Matching Tool |
|---|---|---|
| Wood screws | Joining wooden panels | Phillips screwdriver |
| Barrel nuts | Receiving structural bolts | 4 mm or 5 mm hex key |
| Cam locks | Securing dowel joints | Phillips screwdriver |
| Dowels | Aligning panels | Rubber mallet |
| Corner brackets | Reinforcing corners | Phillips screwdriver |
| Anti-tip wall straps | Securing tall furniture | Phillips screwdriver and suitable wall hardware |
| Felt pads | Protecting floors | Hand placement |
| Thread locker | Supporting selected joints | Hand application |
For a compact product such as the Adjustable Foldable Kitchen Tower, the folding feature means storage planning matters as much as assembly. Confirm that the hinge area is clear and that the folded piece has a stable storage position before your child is nearby.
Assembling Towers, Stools, and Floor Beds Step by Step
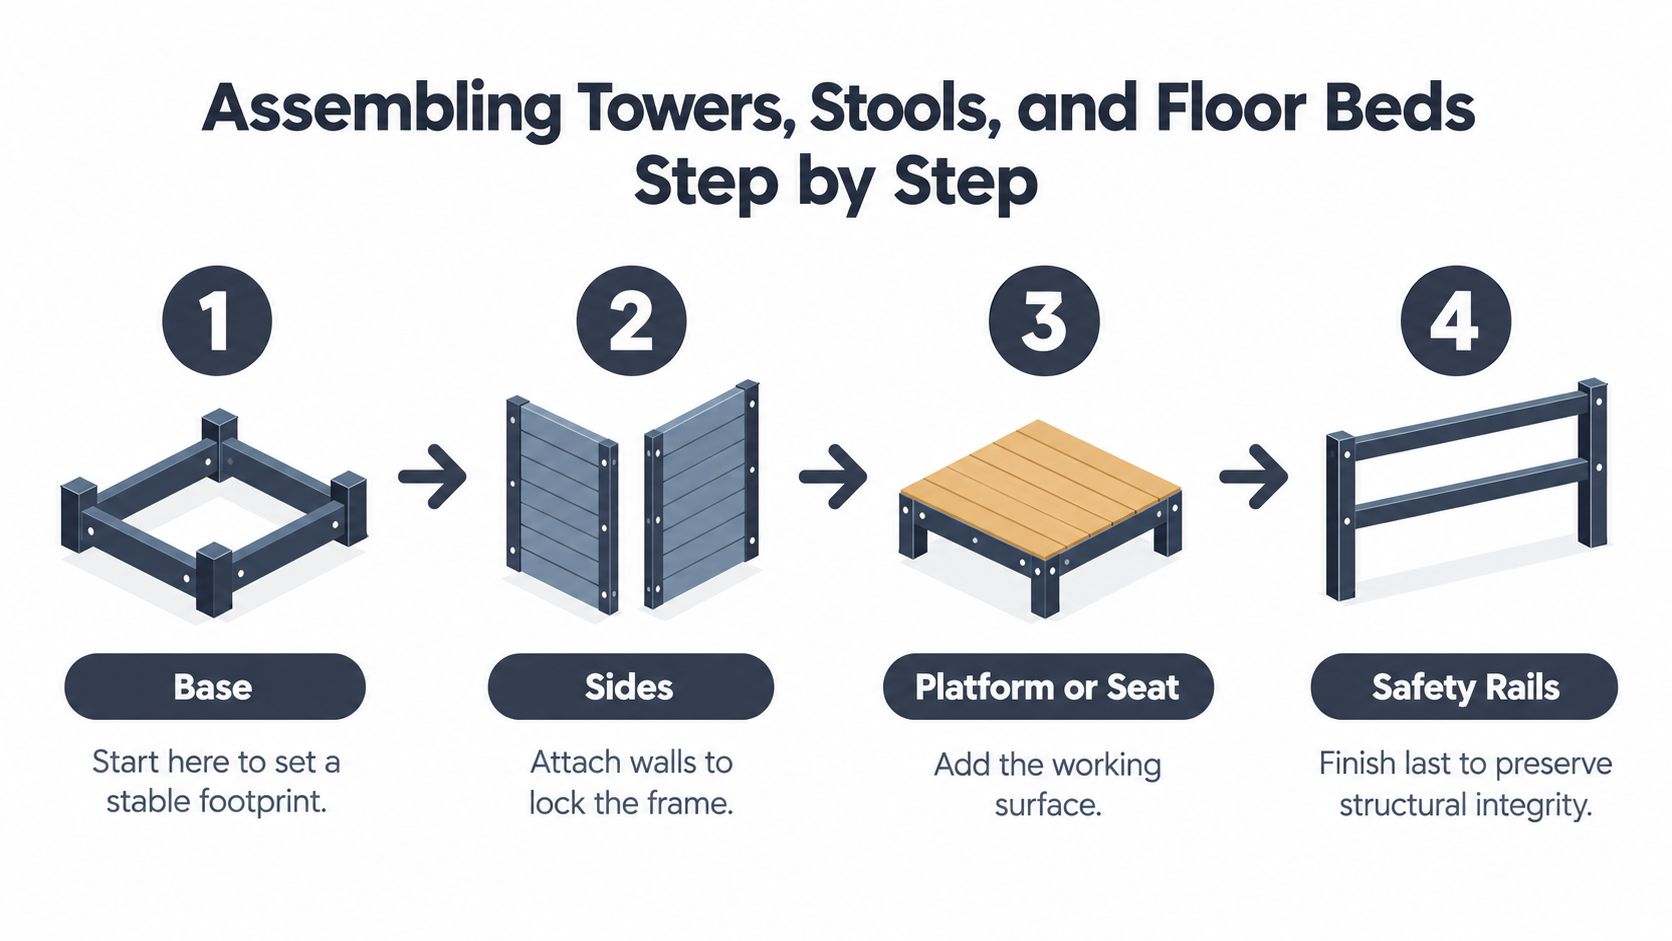
Use one consistent order: base, sides, platform or seat, then safety rails. This sequence gives the structure a stable footprint before you add height. It also makes it easier to spot a panel that is upside down or a joint that isn't sitting flush.
The 2024 IKEA-Manual benchmark contains 36 furniture models, 137 high-level assembly steps, 1,120 detailed substeps, and 34,441 annotated frames, with an average of 316 frames per video. The benchmark paper shows why a good manual needs more than a few broad drawings. Each movement and orientation can matter.
Start with the stable footprint
Base, stage 1: Place the base panel on the protected floor. For a learning tower, attach the four corner posts with the long wood screws and barrel nuts. Start each fastener by hand, then tighten gradually so the posts remain aligned.
Sides, stage 2: Add the side rails or walls. Look at the hole pattern before fastening. A pre-drilled hole that appears close but not identical may indicate that a panel has been turned around. Keep the joints slightly loose until the frame is complete, so the pieces can settle into alignment.
Platform or seat, stage 3: Install the standing platform or stool seat, then check it with a spirit level. A level platform helps your child stand with both feet supported and makes tipping less likely. Mount anti-slip feet before moving the piece.
Safety rails, stage 4: Slide or fasten the top rail into place last. Check every rail connection by hand. For a folding stool, pay special attention to the hinge pin and keep little fingers away from the moving joint while you test the folding action.
A floor bed follows a different rhythm because you're building a rectangle rather than a cube. Connect the headboard and footboard to the side rails with dowels and cam locks. Tighten the joints gradually in a star pattern, alternating sides to keep the frame square. Attach the slat roll only after the frame is aligned, then confirm that every slat is fully seated.
Practical rule: If a diagram shows a joint from one angle and the real panel looks different, rotate the panel before reaching for the mallet.
Numbered photos and diagrams should correspond to these stages. A useful design uses small steps, a picture of the finished product after each step, and text only where the image needs support. Research on user preferences for assembly instructions supports that visual rhythm. A Stanford study likewise found that cognitively designed instructions reduced assembly time by an average of 35% and errors by 50% compared with baseline instructions, while 42 of 43 participants completed the task successfully. Read the Stanford assembly-instruction study.
For an additional visual reference, watch the movement of each frame before copying the sequence:
If you're unfamiliar with flat-pack terminology, this tag for flat pack assembly can help you recognize common joining methods. For a product-specific sequence, keep the learning tower assembly instructions beside the physical parts rather than relying on memory.
Child-Safety Checks Every Parent Should Run
Finishing the last screw isn't the finish line. Treat the completed build like a small stress test. The most important question is not whether the furniture looks assembled, but whether it stays stable when a child climbs, shifts weight, reaches sideways, or repeats the same movement every day.
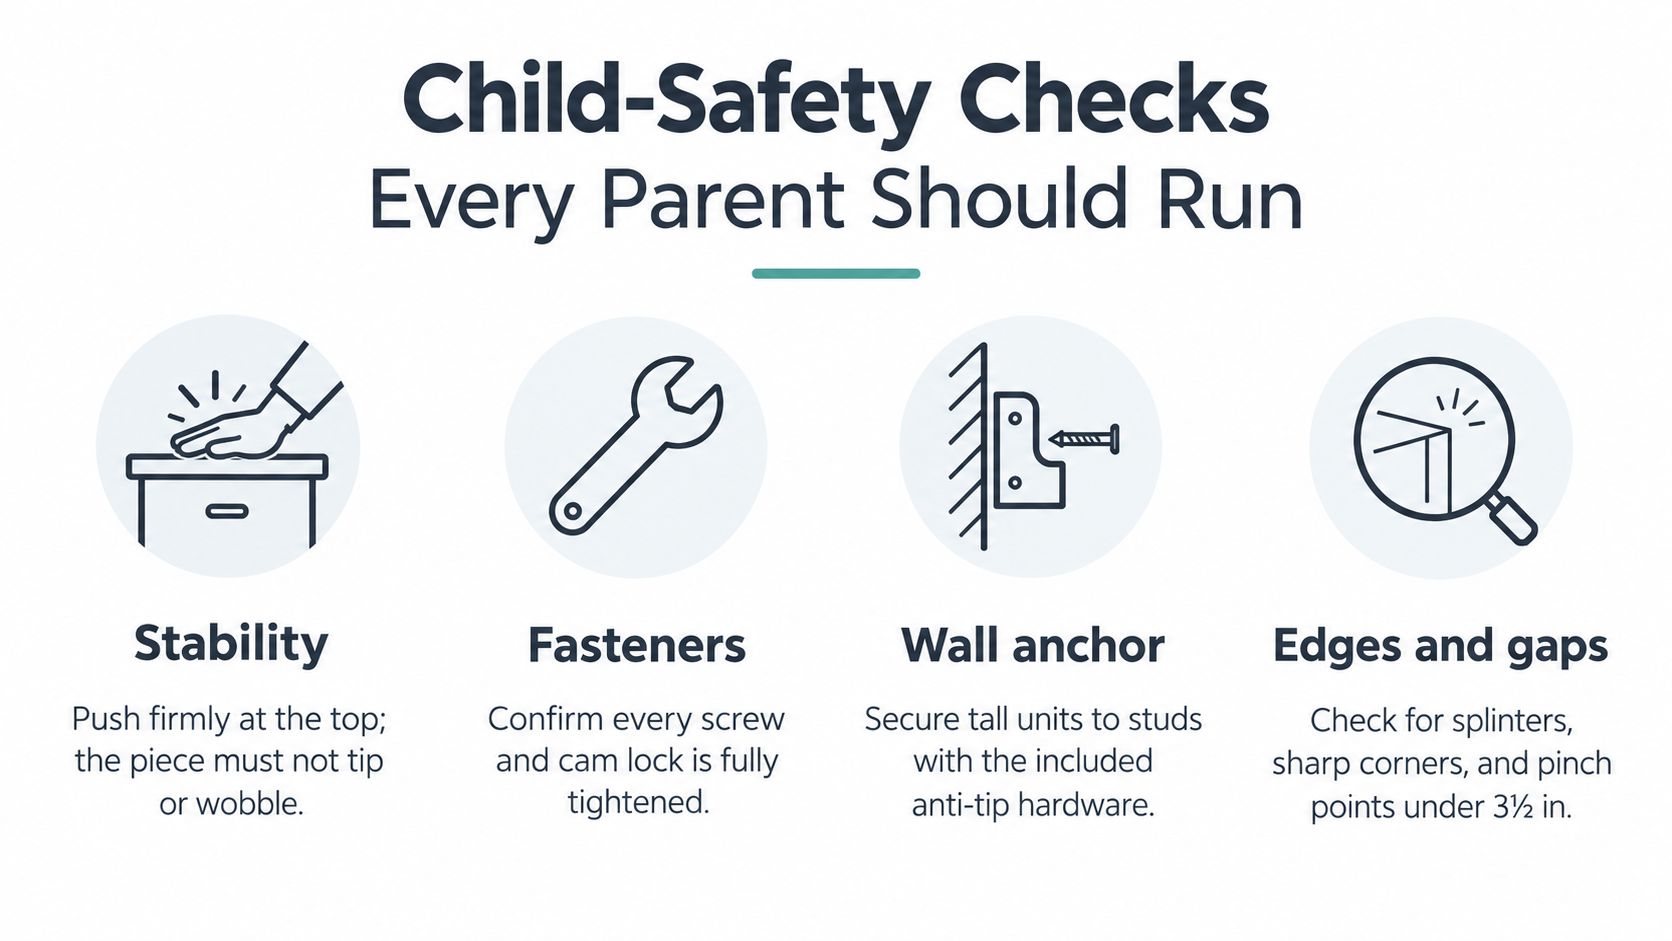
Start with stability. Apply firm lateral pressure at the platform height of a learning tower, then push from behind. The tower should remain planted without rocking, sliding, or widening at a joint. Repeat the same check on a step stool from several directions.
Test load, edges, and fasteners
Use a household object that mimics a 50-pound child and hold it on the standing platform for a full minute. Watch for a creak, shift, widening joint, or change in level. Every Ocodile learning tower and step stool should pass a 200-pound static-load benchmark before a child climbs on it. Remove the object slowly and repeat the stability check.
Run your hand along every edge and corner. Feel for splinters, raised finish, or a sharp transition. Confirm that no screw head protrudes beyond the wood surface, and check that a rope, strap, or dowel can't be hooked by a curious finger.
For floor beds and bunk-style products, inspect the anti-tip system. Place the wall anchor into a stud where possible, use the correct anchor type for the wall, and tighten until the furniture sits flush without splitting the wood. Check gaps, pinch points, and any area where a child could trap a hand or foot. A visual safety review should include gaps under 3½ inches, as shown in the checklist above.
A one-page printable checklist aligned to ASTM F2613 for children's furniture and CPSC anti-tip guidance gives your household a repeatable routine. Re-run it every six months and before the piece passes to a younger sibling. The stability testing methods resource can help you organize that inspection around the furniture's actual use.
When the Instructions Do Not Match the Furniture
The most frustrating assembly problems begin when the paper and the physical parts disagree. A pre-drilled hole may sit off-center by a millimeter, a cam-lock dowel may stand slightly proud of the surface, or a stringer panel may twist during transit and refuse to sit flush.
Don't solve each problem with more force. Measure an off-center hole with a ruler before inserting a screw. If a dowel stands proud, use 220-grit sandpaper to reduce it gently rather than hammering the panel into place. If a stringer is twisted, clamp it for 24 hours, then re-check its flatness before continuing.
Stop rule: New holes, replacement structural panels, and force that feels wrong belong in a support ticket, not a DIY workaround.
If a part is missing, incorrect, or visibly damaged, stop immediately. Bag the unused hardware, photograph the part and its label, and contact support with the order number and clear images. This protects the warranty, the child, and your evening. Public assembly guidance often covers checking parts and tightening after alignment, but troubleshooting content rarely explains when a parent should stop. That decision is just as important as the construction sequence.
Care, Storage, and Long-Term Use
A Montessori piece should remain dependable after the first child has outgrown it. Once a month, re-tighten cam locks, confirm wall anchors are seated, and inspect high-touch areas for raised grain, chips, or loosened finish.
Clean with a damp microfiber cloth and a mild castile soap solution. Avoid bleach, ammonia, and abrasive pads because they can strip the sealer. For a folding learning tower, fold it flat and store it upright against a wall rather than stacking it horizontally, which can rack the frame over time. The foldable learning tower storage guide provides a practical place to record that routine.
Wood in a dry nursery can develop small cracks. Aim for 40 to 50 percent humidity, and apply food-safe beeswax or hard wax oil yearly to high-contact zones. Keep the original hardware bag, instruction sheet, and a photo of the completed assembly taped inside a closet door. For a mattress protector stored alongside a floor bed, this guide to how to store a mattress protector offers a separate storage reference.
The Solid Wood Twin Over Twin Bunk Bed For Kids is described as a space-saving, low-to-the-floor bunk bed designed to create more room for play while keeping bedtime safe and comfortable. Whatever the furniture type, a careful maintenance record turns today's assembly into a usable hand-me-down for the next child.
Ocodile offers Montessori-inspired children's furniture designed around independence, stability, and everyday family use. Visit Ocodile to explore learning towers, stools, floor beds, and other pieces, then use the same careful assembly and safety checks before your child begins using them.